QS Config and licensing
Configuration and Licensing
Editing your /etc/hosts file
Before continuing, ensure the /etc/hosts
file is configured correctly on both nodes. Hostnames cannot
be directed to 127.0.0.1, and both nodes should be
resolvable. Here is a correctly configured hosts file for two
example nodes, node-a and node-b:
127.0.0.1 localhost
10.6.18.1 node-a
10.6.18.2 node-b

# The following lines are desirable for IPv6 capable hosts
::1     ip6-localhost ip6-loopback
fe00::0 ip6-localnet
ff00::0 ip6-mcastprefix
ff02::1 ip6-allnodes
ff02::2 ip6-allrouters
To begin configuration, click on Create/Destroy option on the
side-menu (or the shortcut on the panel shown when first logging in).
The Cluster Create page scans for clusterable nodes (those running
RSF-1 that are not yet part of a cluster)
and presents them for selection:

Now enter the cluster name and description, and then
select the type of cluster being created (either shared-storage or
shared-nothing).
If setting up a shared-nothing cluster an additional option to add a
node manually is shown at the bottom of the page. This is because
RSF-1 will detect nodes on the local network, but for shared-nothing
clusters, the partner node could be on a separate
network/location, and therefore may not automatically be detected1.

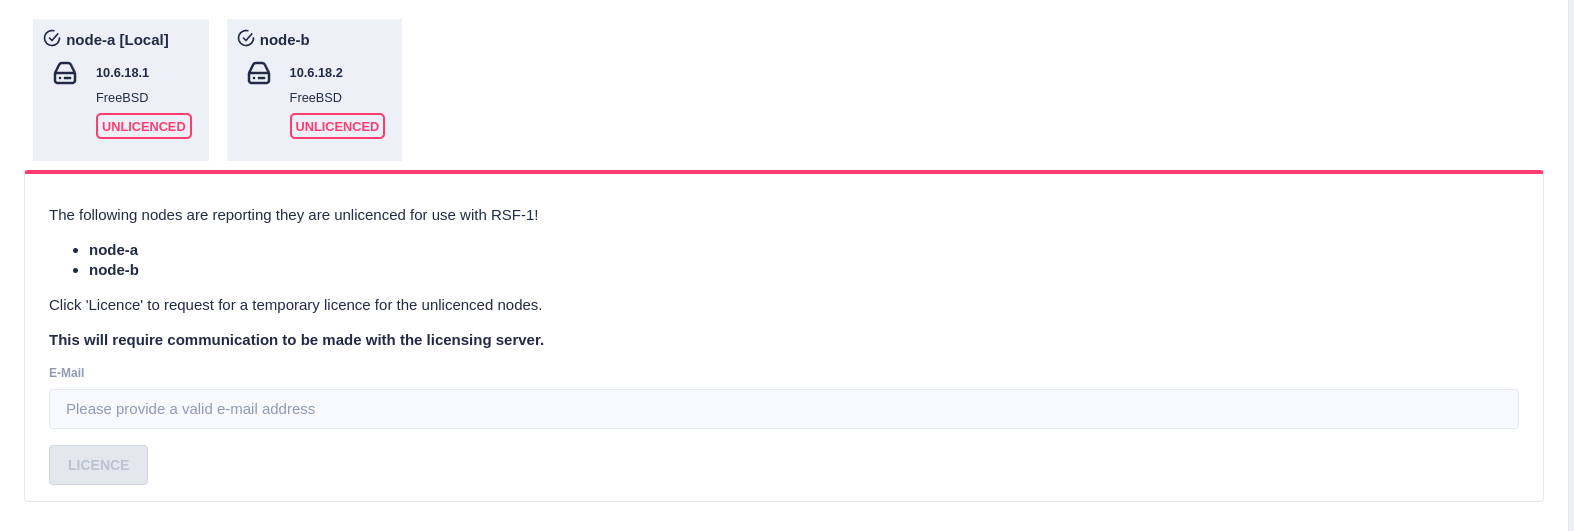
Trial Licenses
If any of the selected nodes have not been licensed,
a panel is shown to obtain 45 day trial licenses:
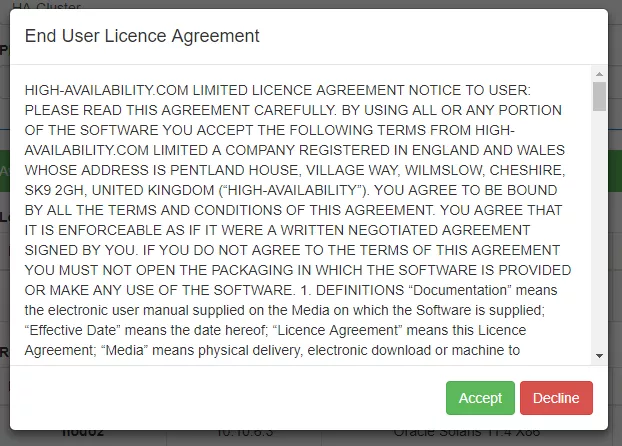
Next, the RSF-1 End User License Agreement (EULA) will
be displayed. Click accept to proceed:
Once the license keys have been successfully installed, click the
Create Cluster button to initialize the cluster:

-
RSF-1 uses broadcast packets to detect cluster nodes on the local network. Broadcast packets are usually blocked from traversing other networks and therefore cluster node discovery is usually limited to the local network only. ↩