Pools
The Pools page is used to both create zpools and to cluster them to create a service. The main page shows the pools discovered on a local node:

Clusterable pools
For shared storage all of a pools devices must be accessible by both nodes in the cluster; this is normally achieved using SAS drives in a JBOD connected to both nodes (commonly referred to as a Dual Ported JBOD).
In the above example pools pool1 and pool2 are both clustered and running on node-a, pool3 is an exported, unclustered pool
and poollocal is only visible to node-a and therefore cannot be clustered.
Creating a Pool
To create a zpool click the + CREATE POOL button on the main pools page. You will then be presented with
the pool configuration page:
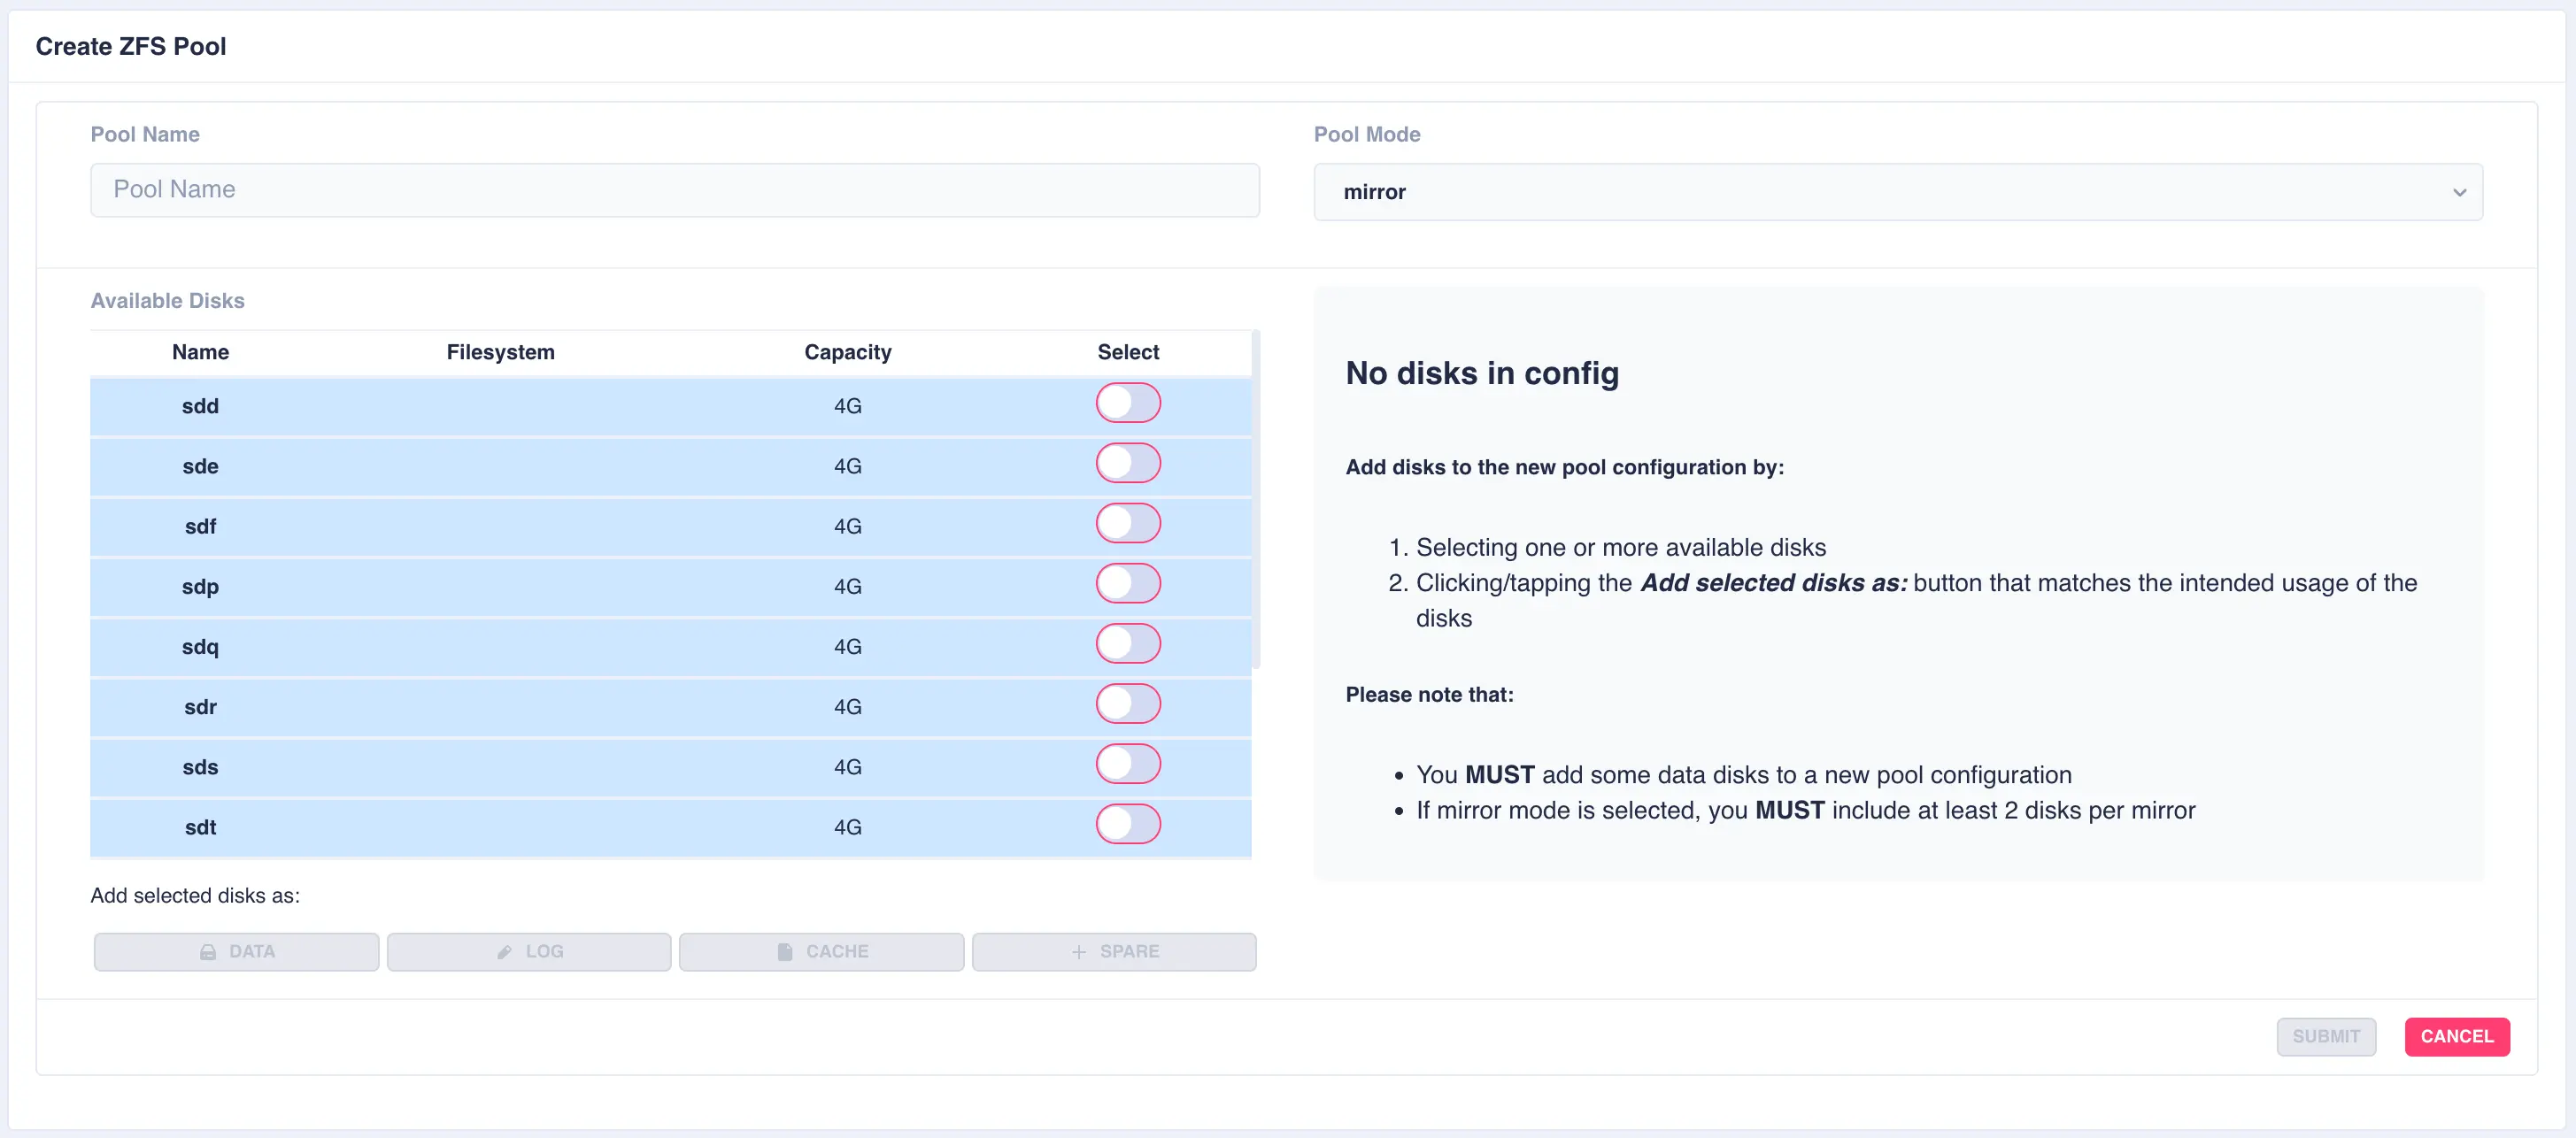
Fill out the Pool name field and select the desired structure of the pool from the Pool Mode list.
The cluster supports three types of layout when creating vdevs for a pool:
raidz2- Two of the drives are used as parity drives, meaning up to two drives can be lost in the vdev without impacting the pool. When striping raidz2 vdevs together each vdev can survive the loss of two of its members.mirror- Each drive in the vdev will be mirrored to another drive in the same vdev. Vdevs can then be striped together to build up a mirrored pool.jbod- Creates a simple pool of striped disks with no redundancy.
RAIDZ2 Pool
For this example a RAIDZ2 pool consisting of two five drive vdevs striped together, a log, a cache and a spare will be created. Five disks are selected for the first vdev, the desired Pool Name entered and raidz2 chosen from the Pool Mode list:
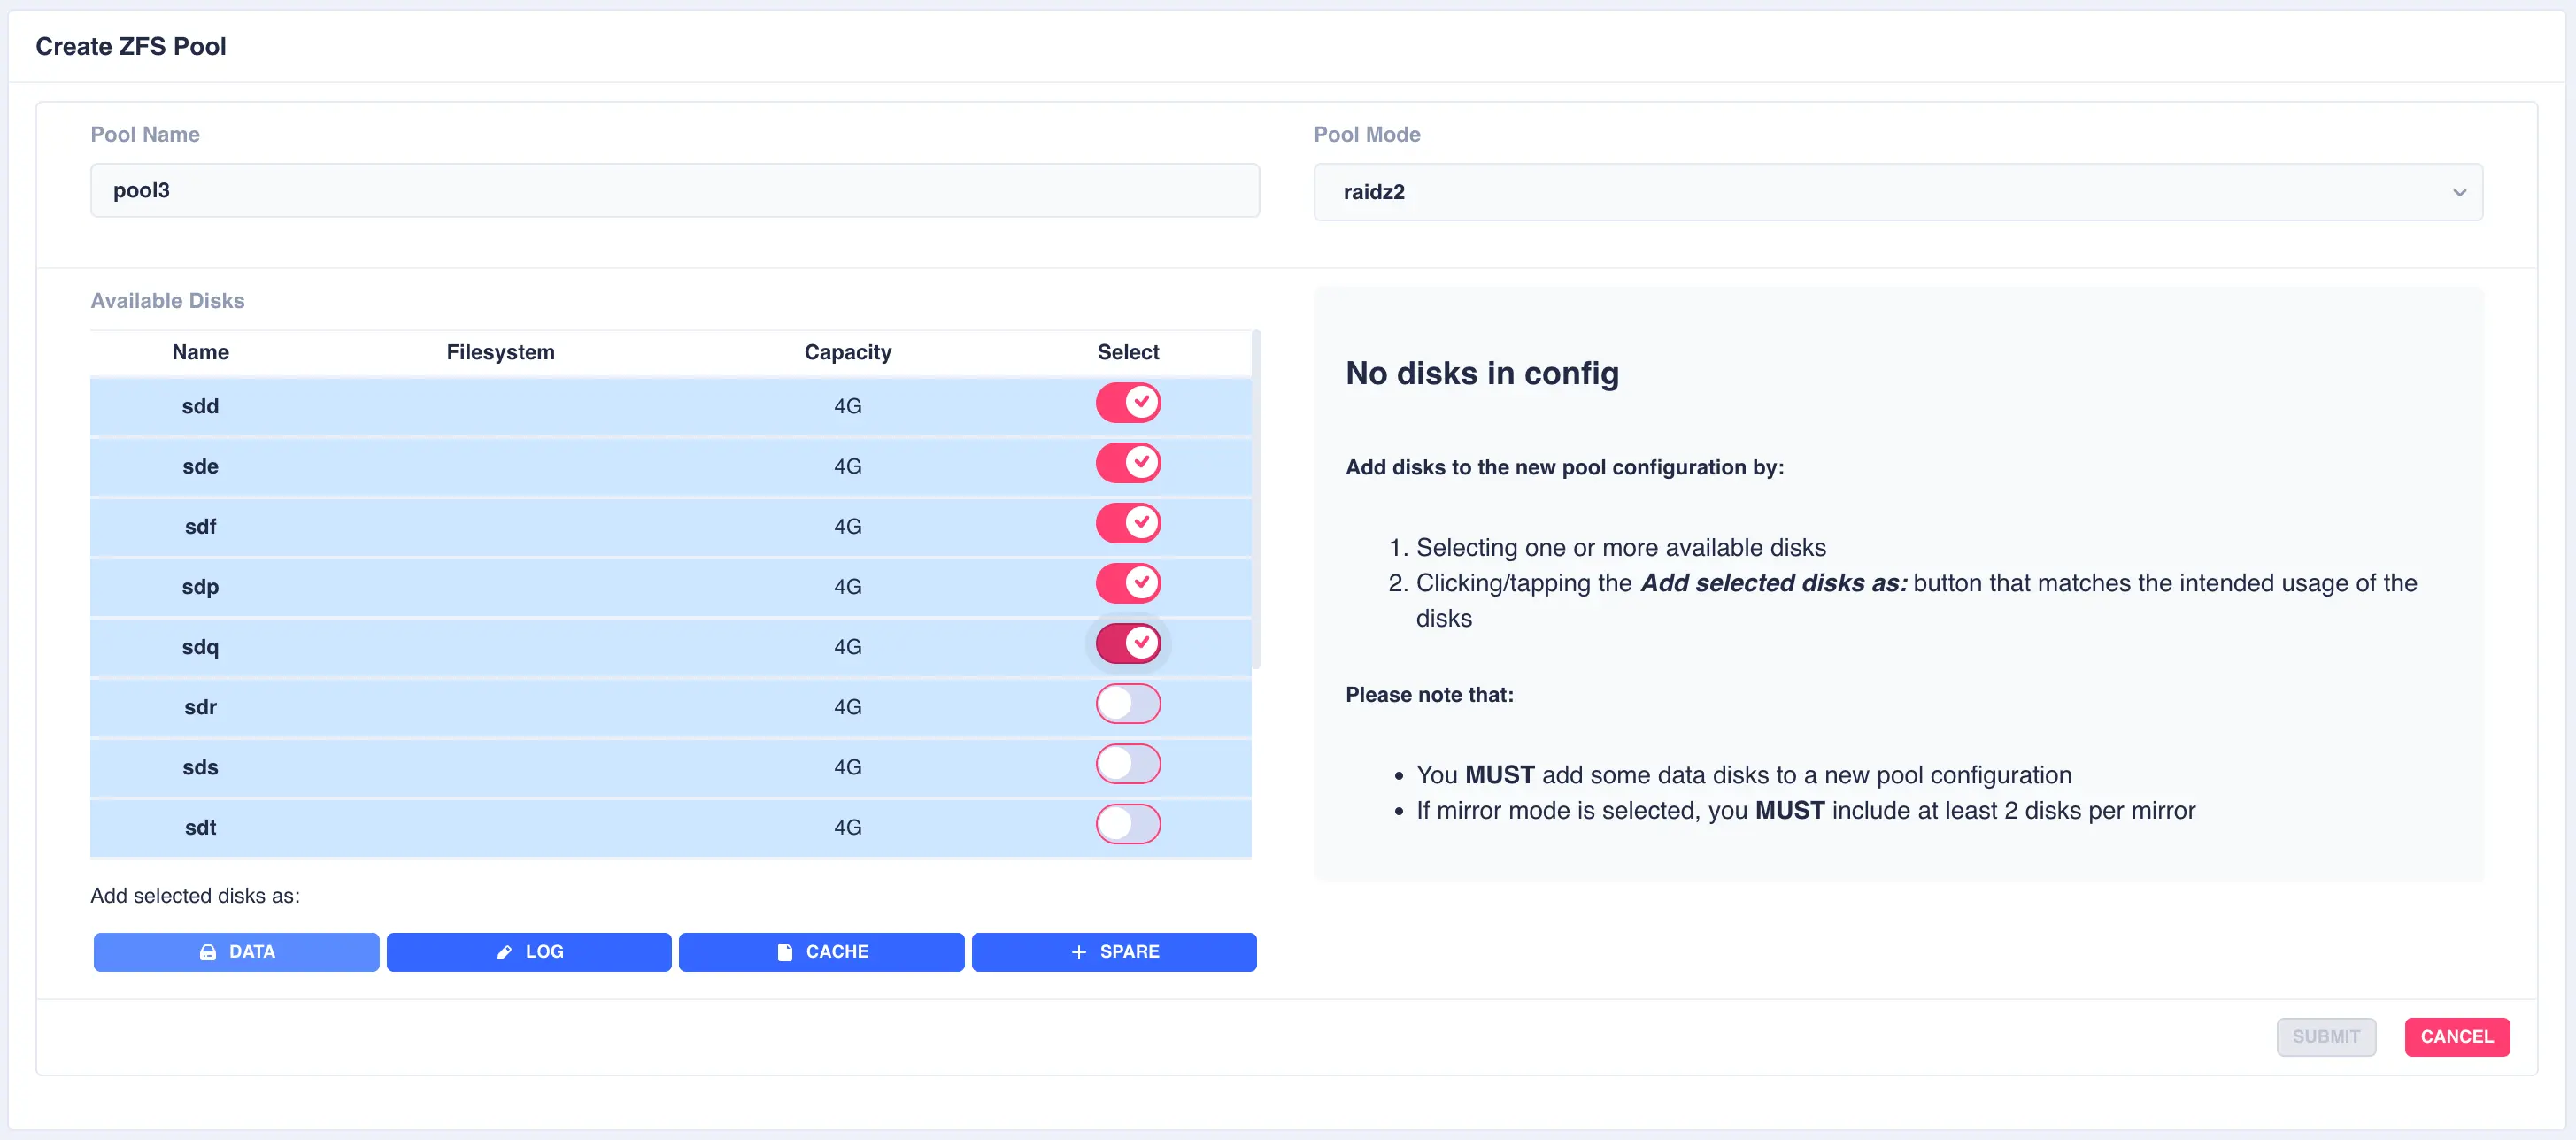
Click on DATA from the Add selected disks menu to configure the first vdev:
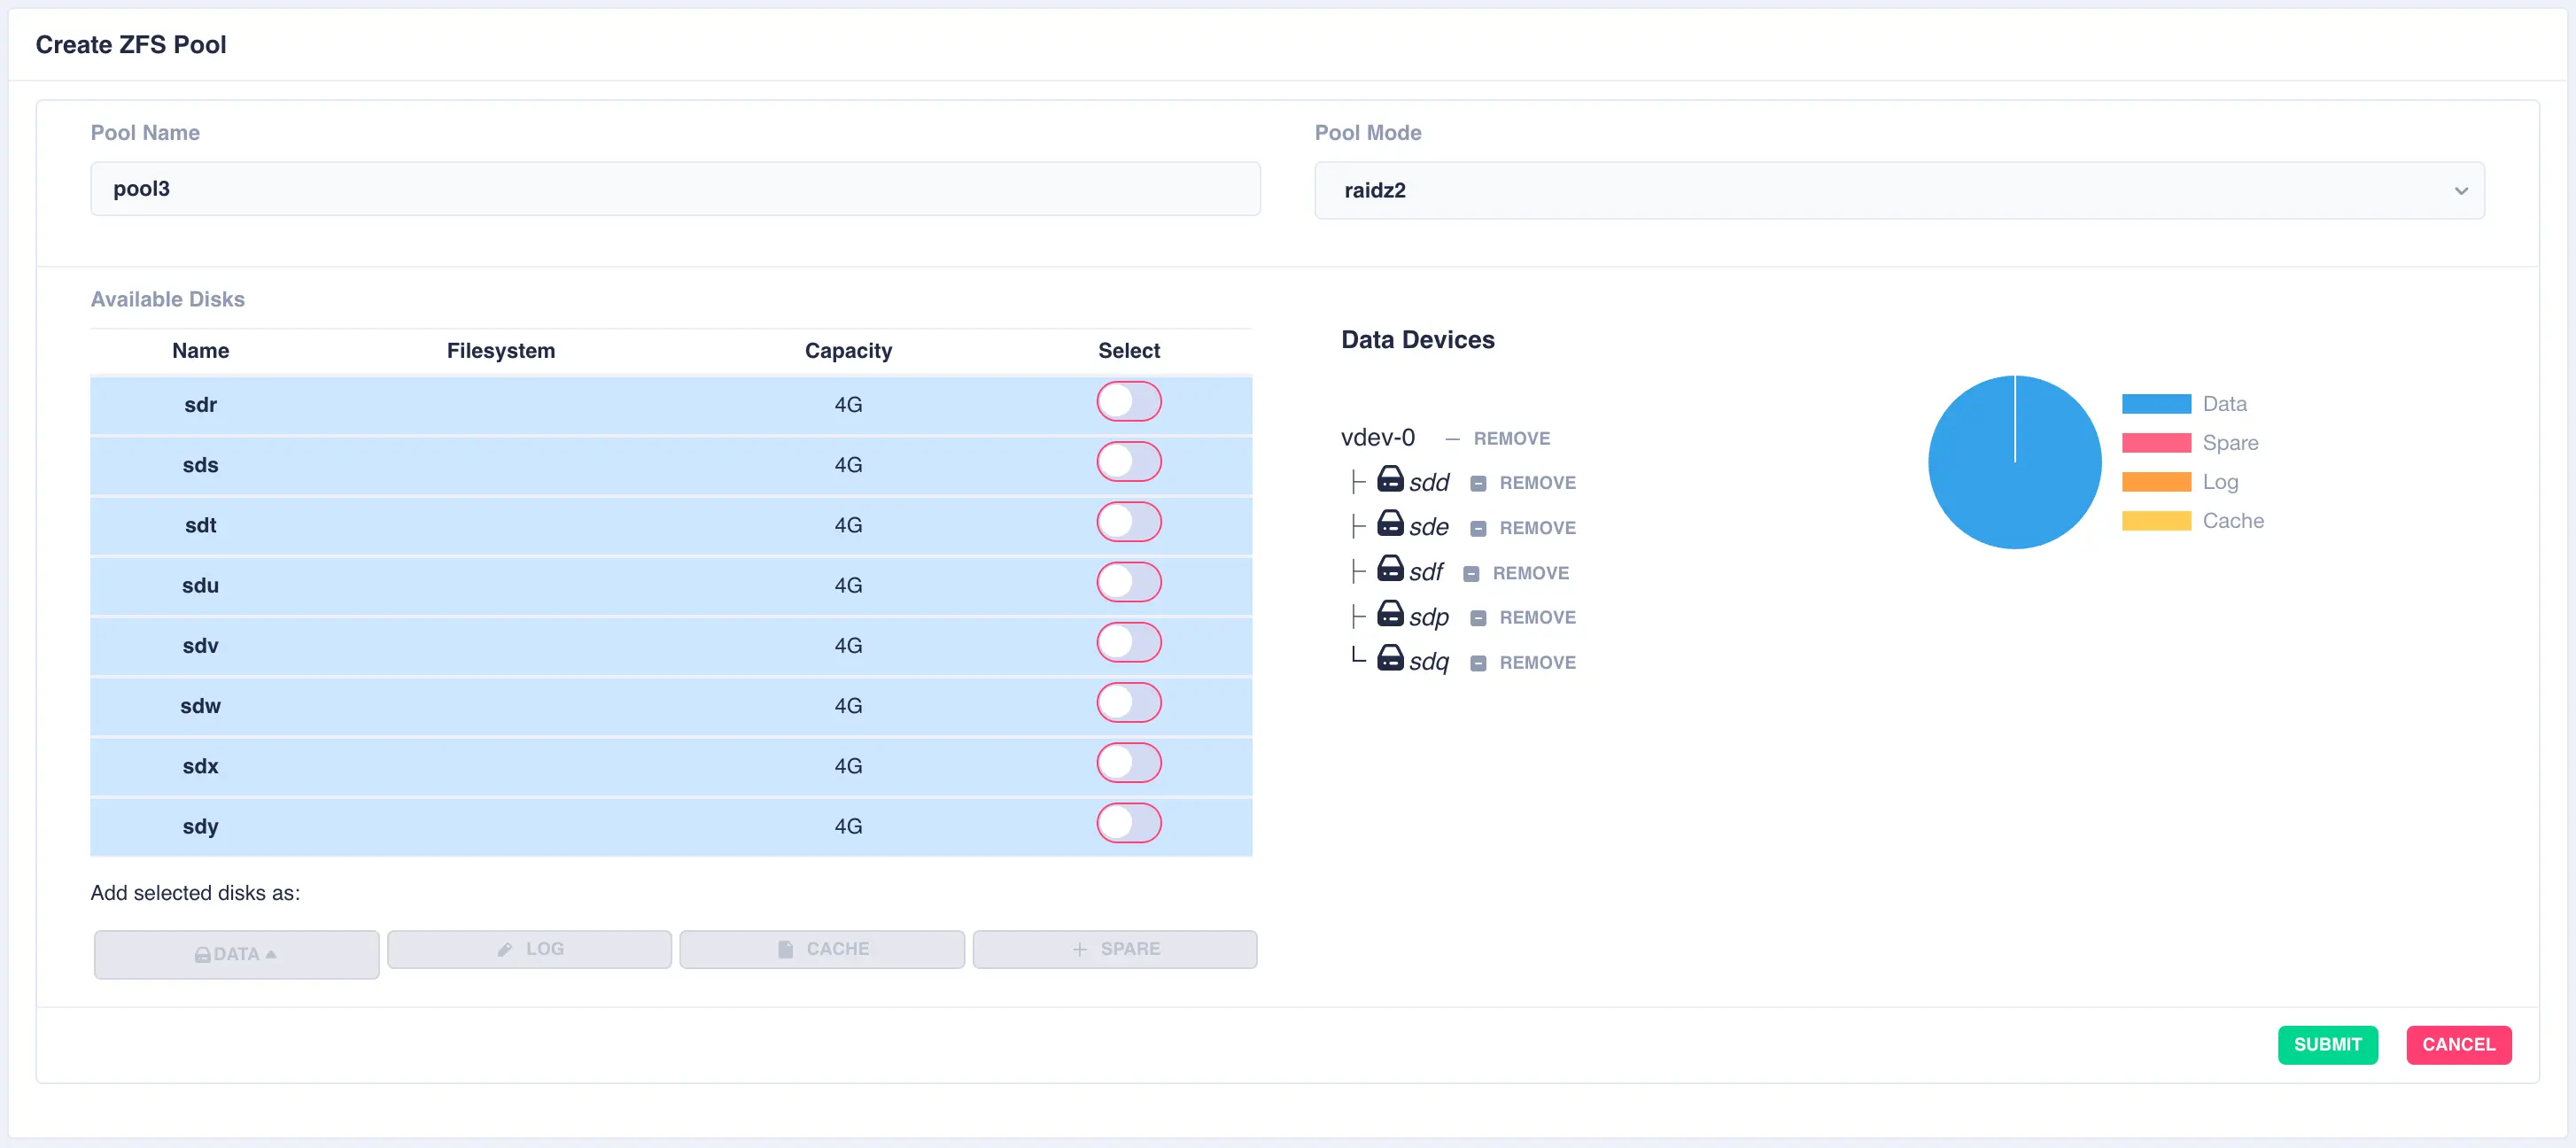
Next the second vdev is added, again using five drives, but this time selecting + New vdev from the DATA menu:
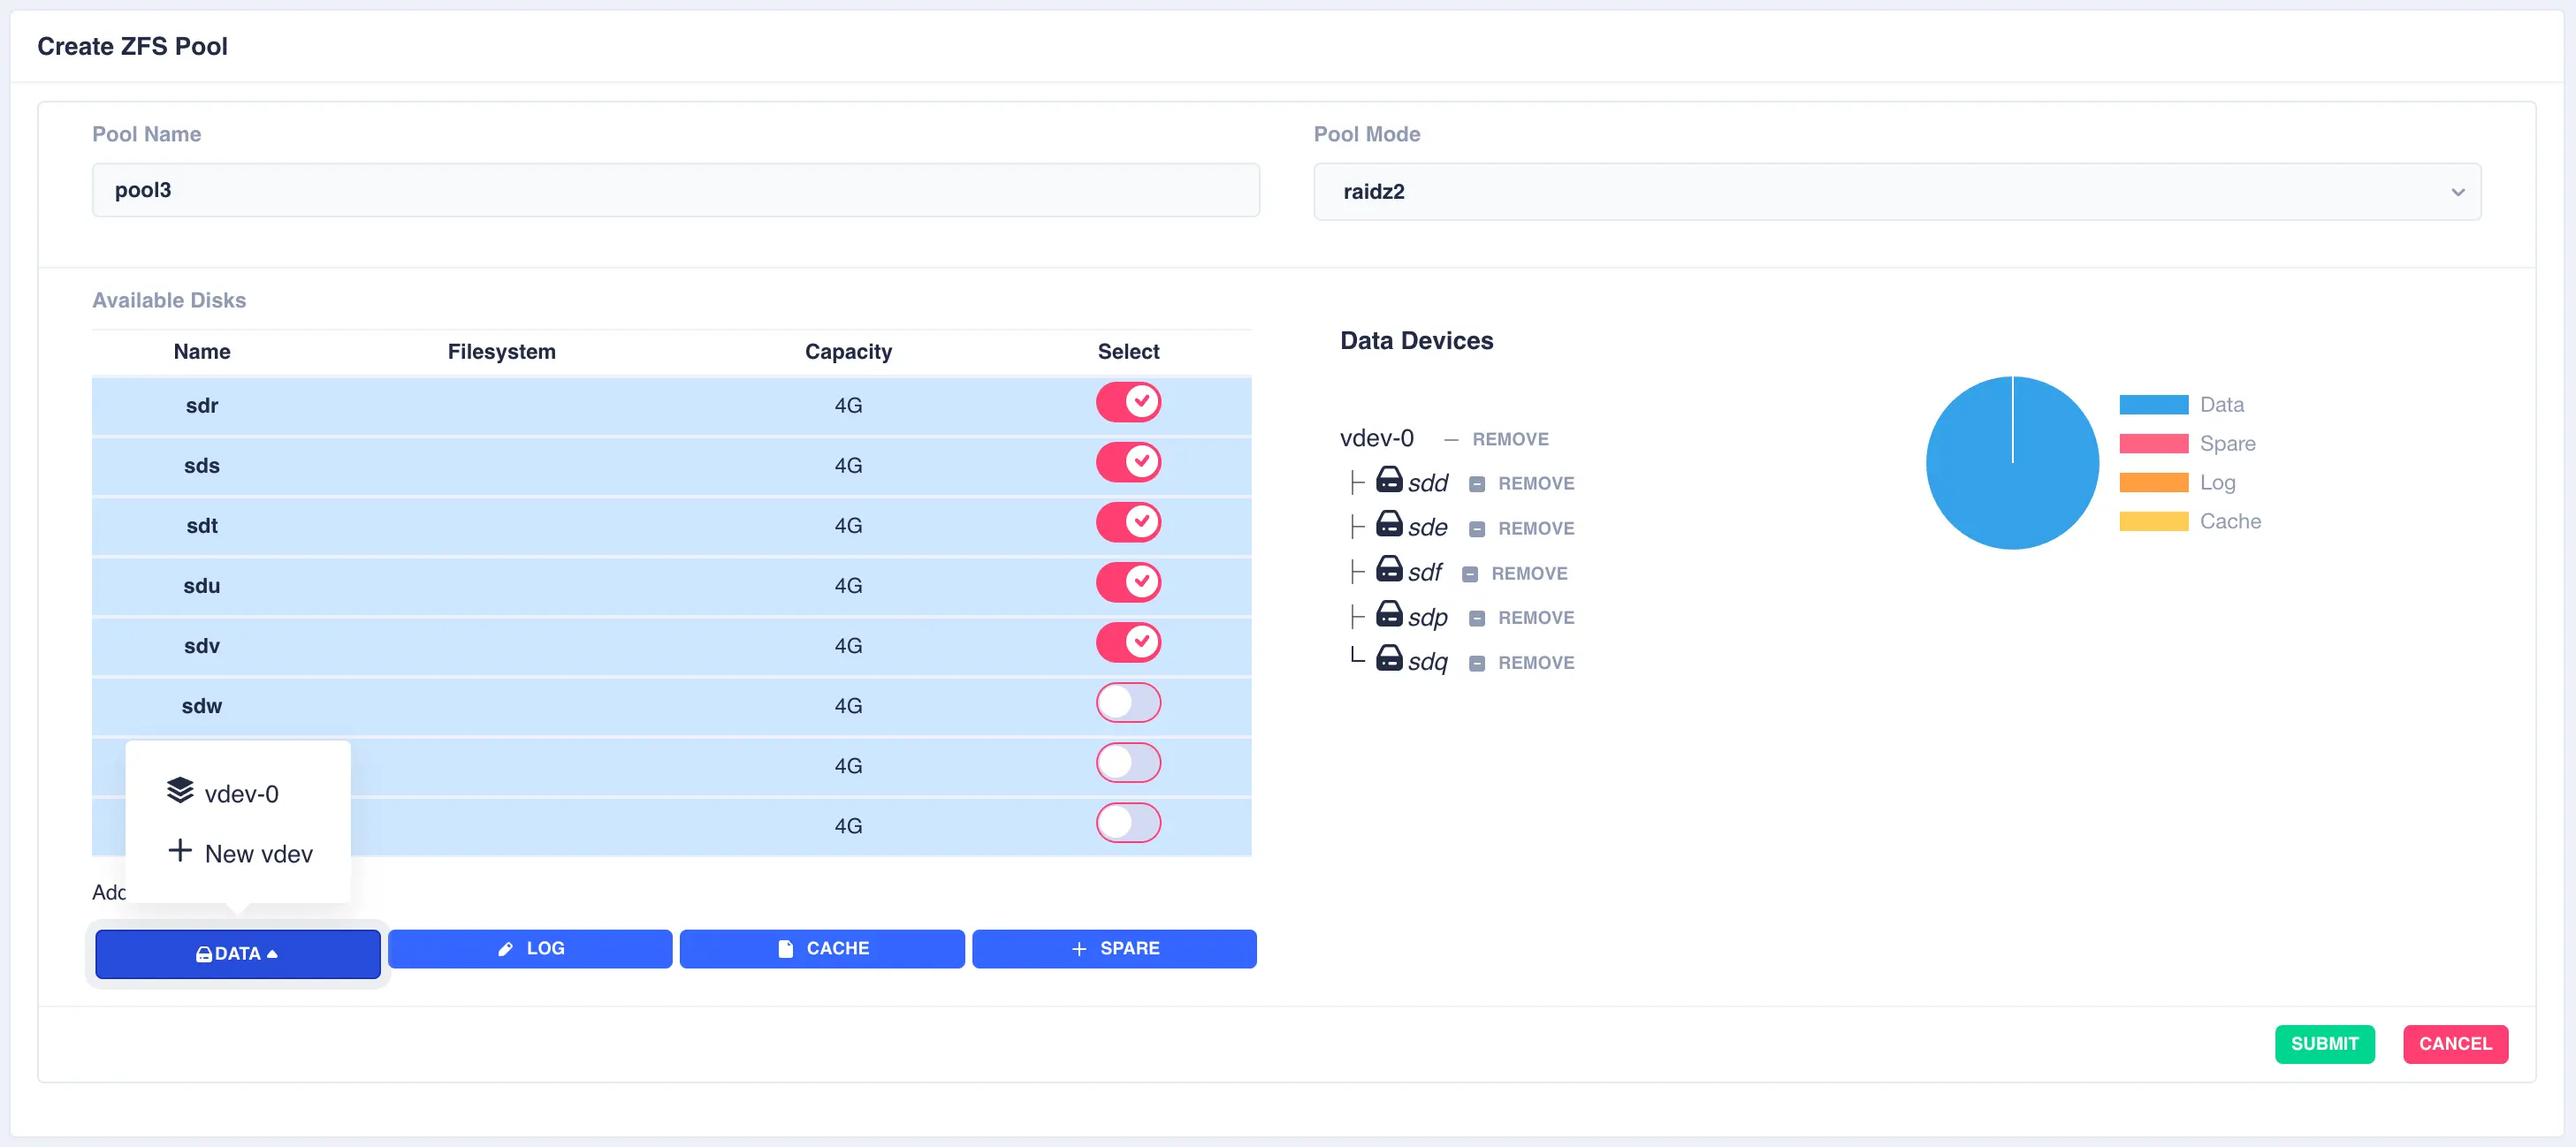
The resulting configuration depicts the two vdevs striped together:
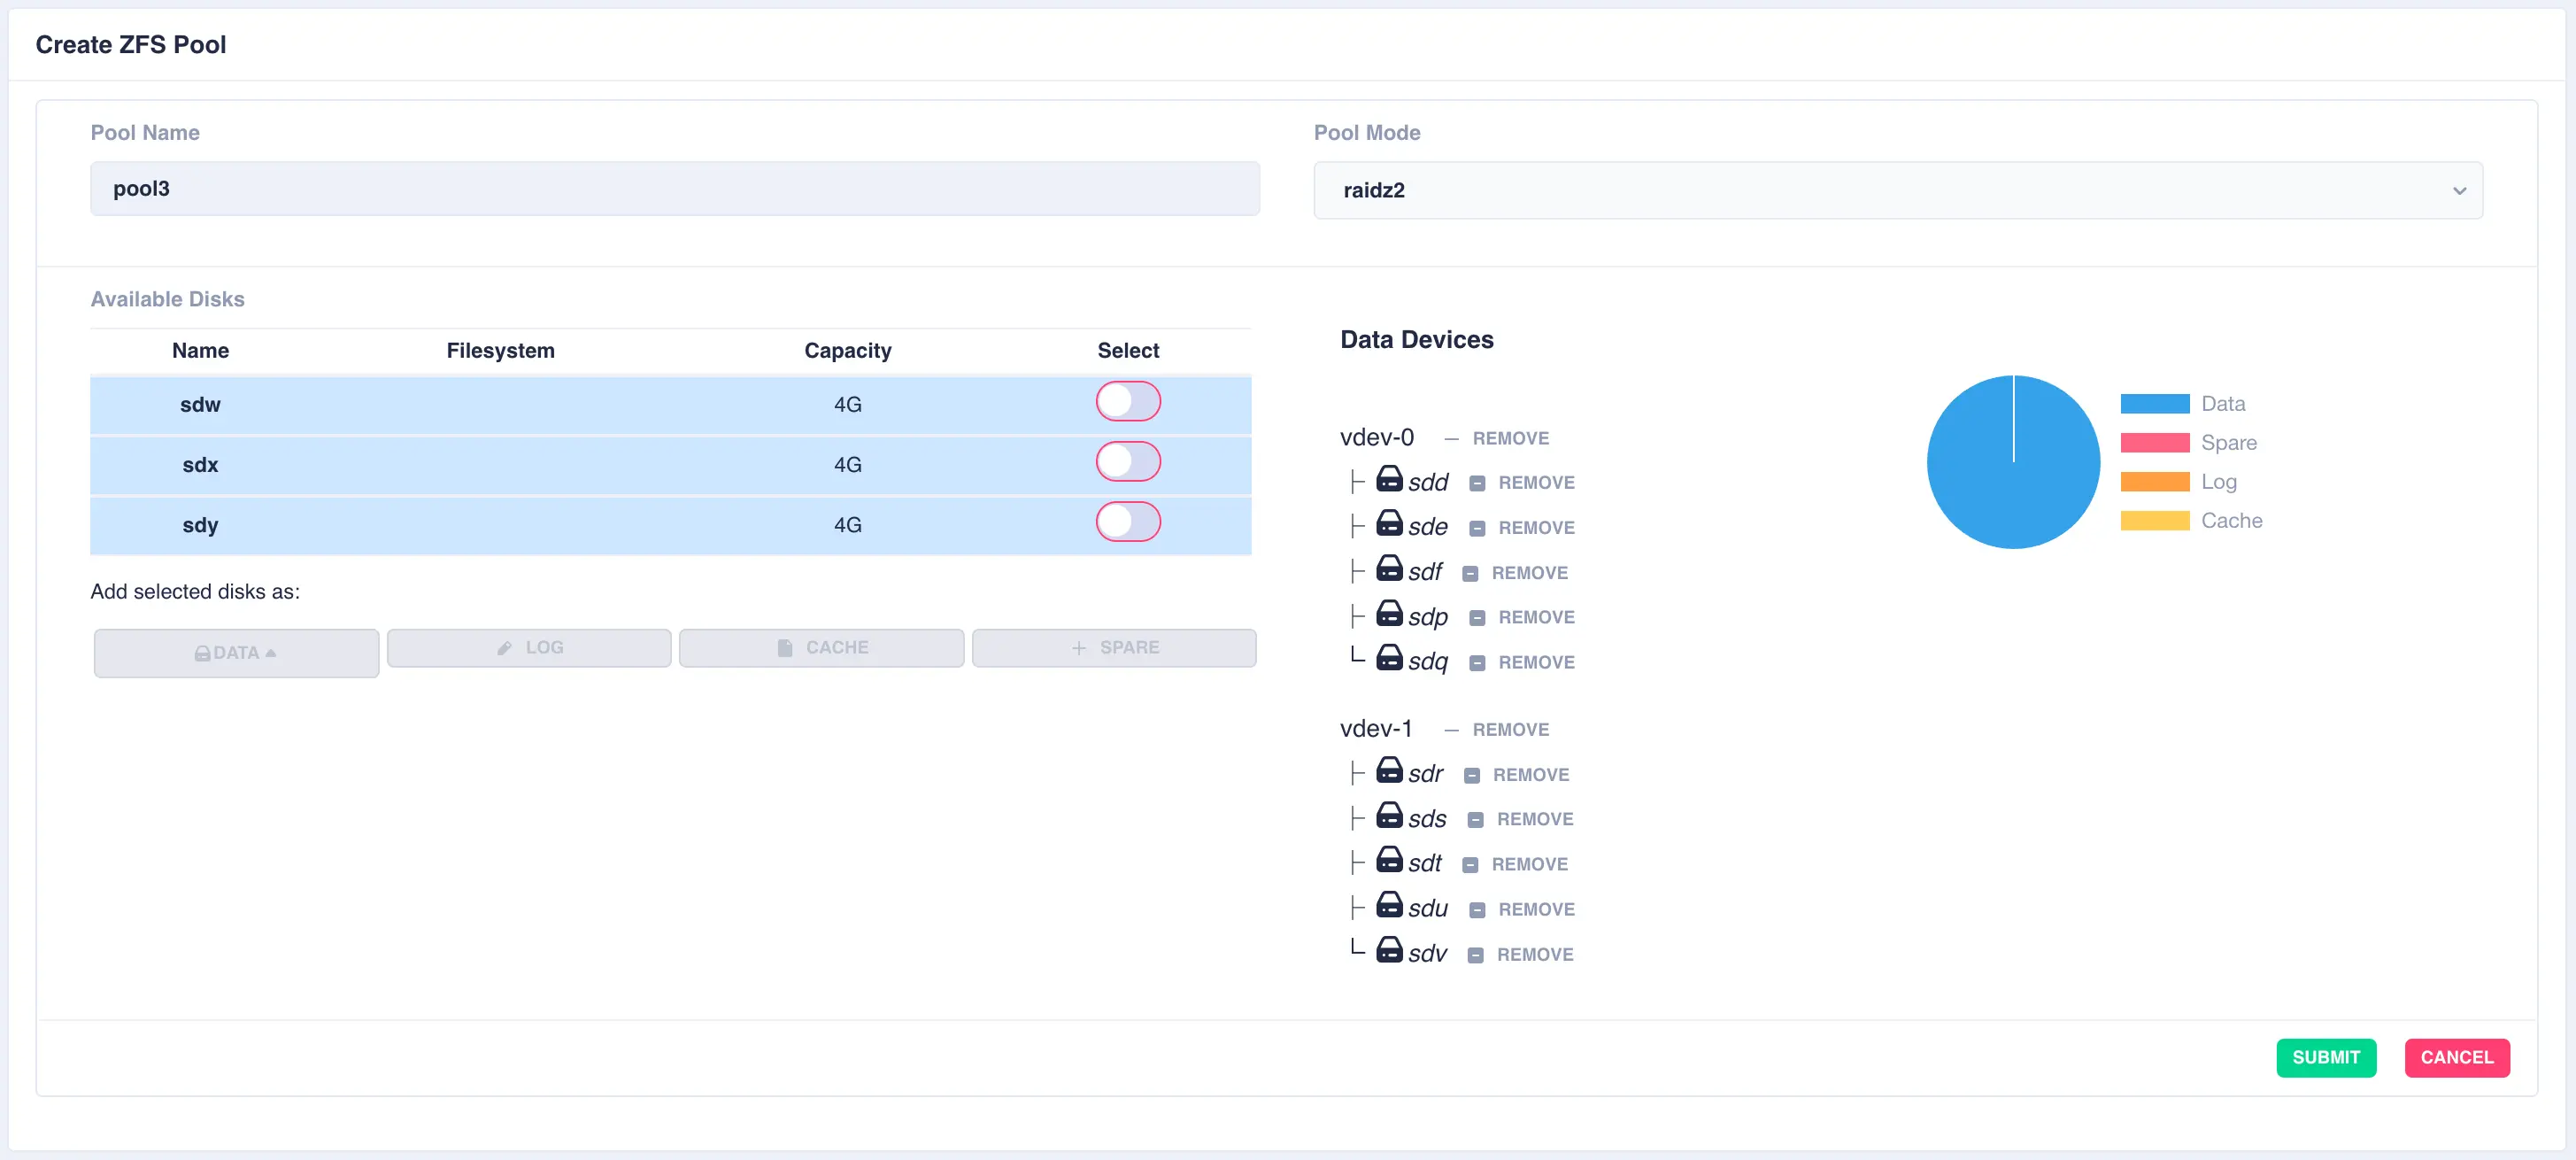
Next a log disk is added by selecting one of the remaining available drives and clicking the LOG button:
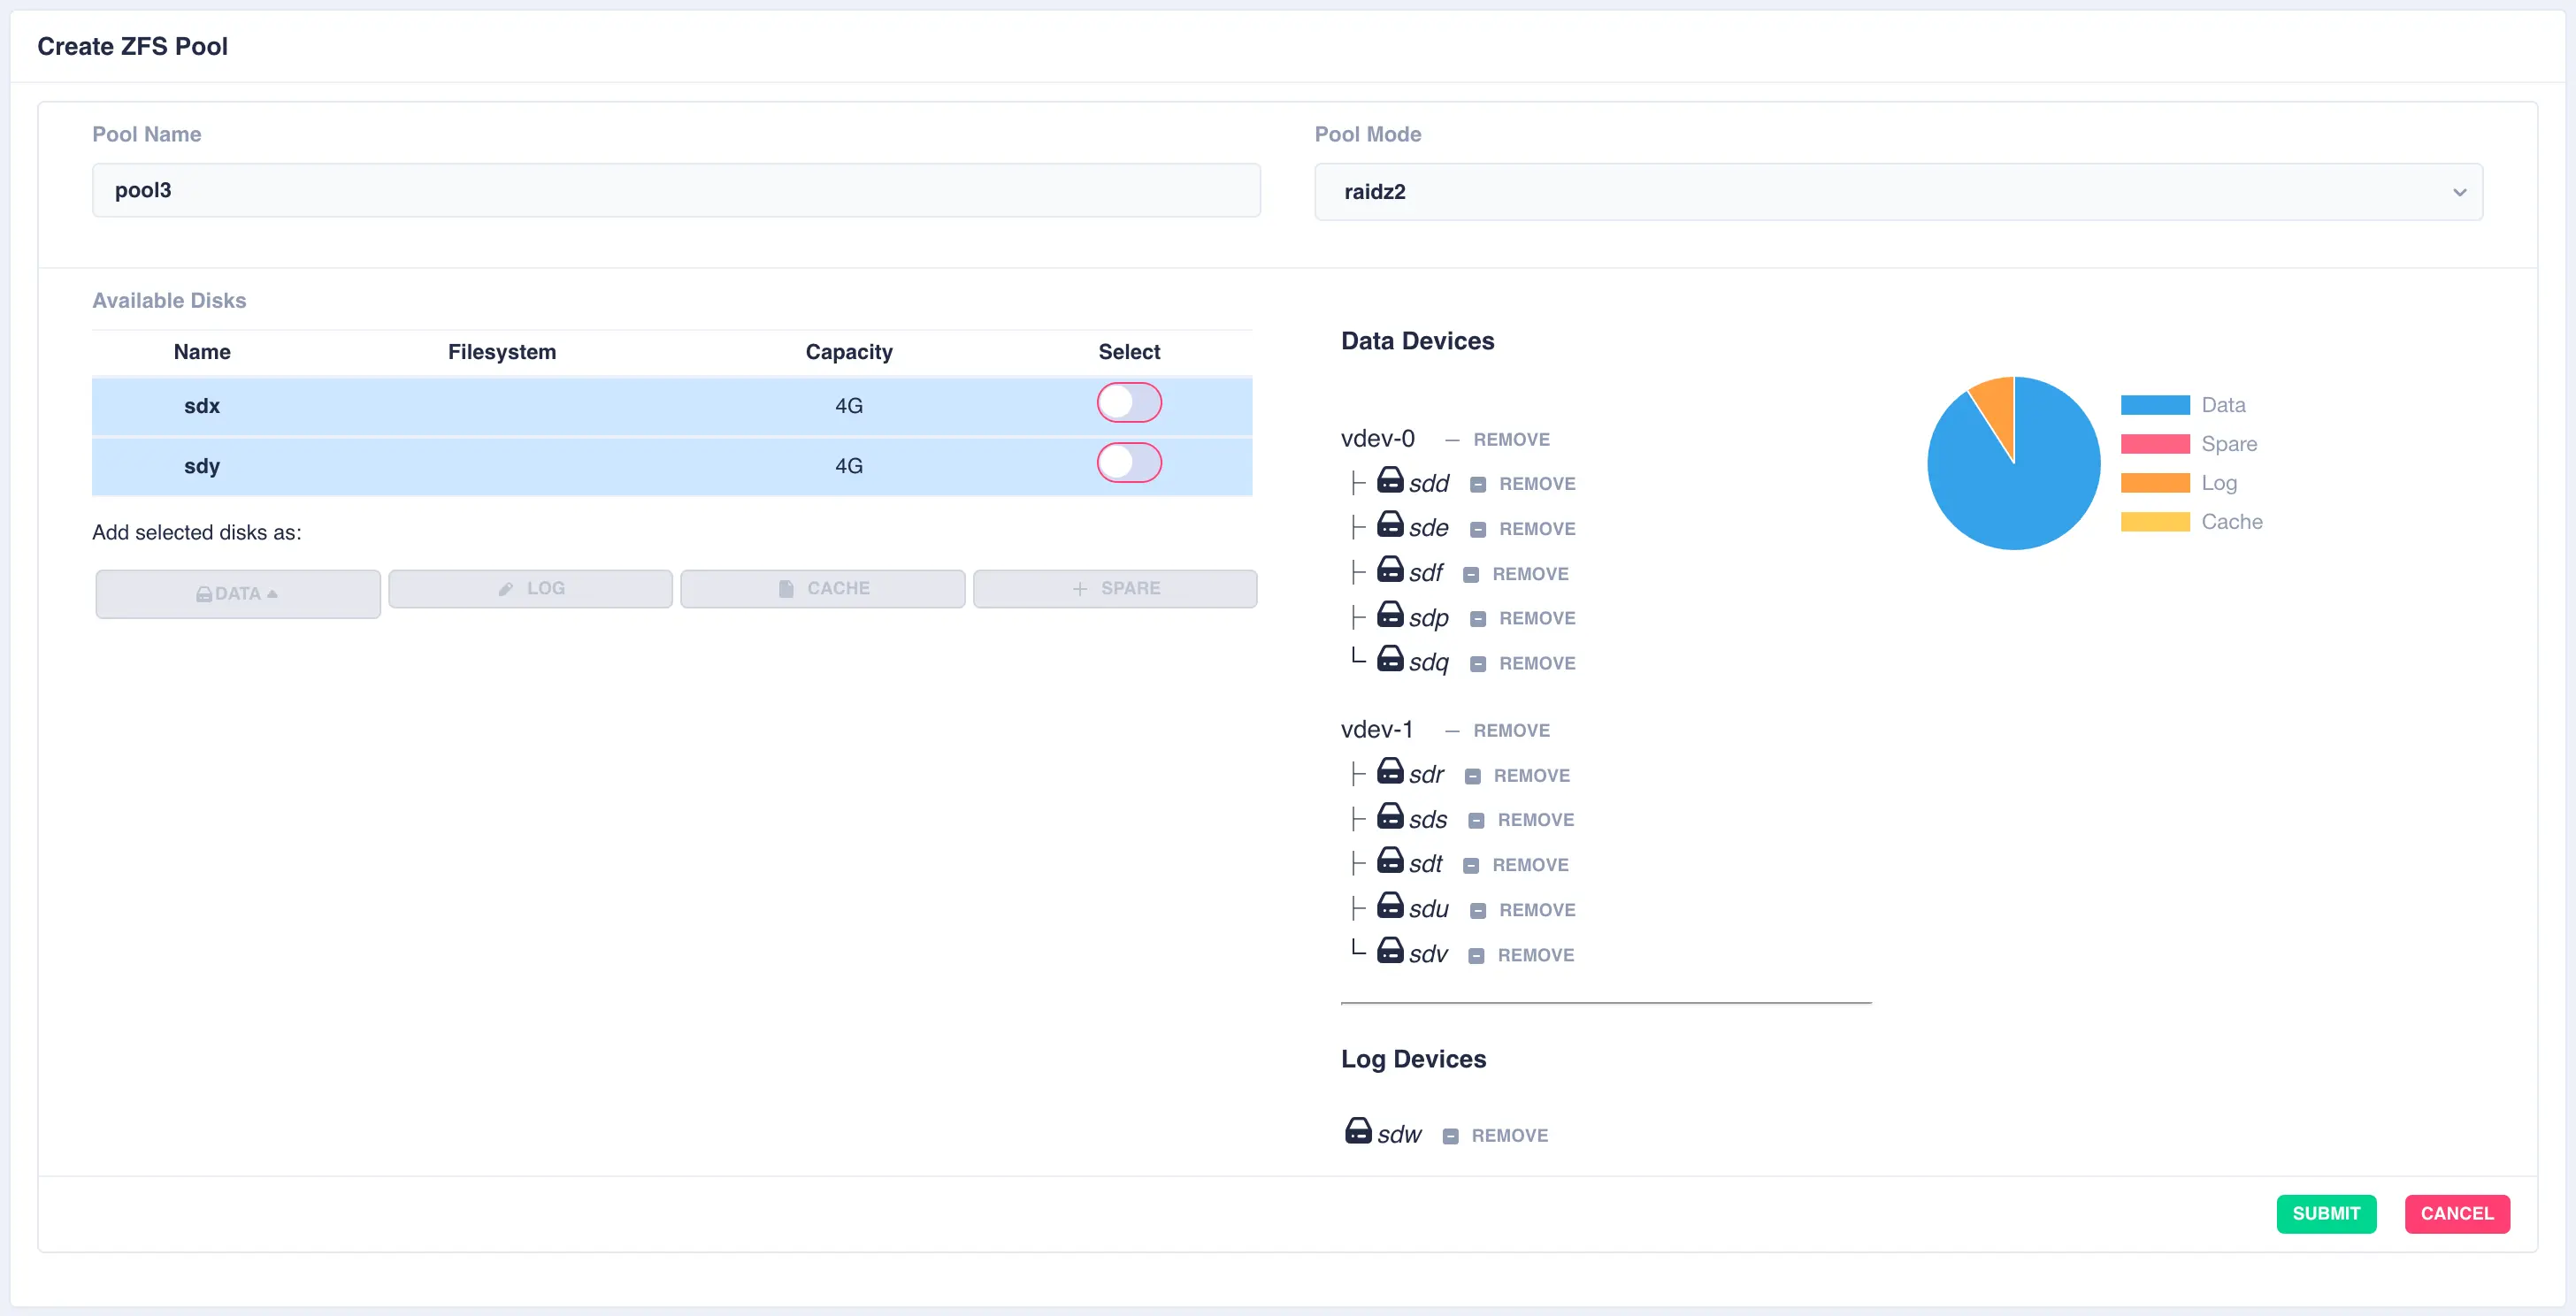
The same is done for a cache and spare device giving the final configuration:
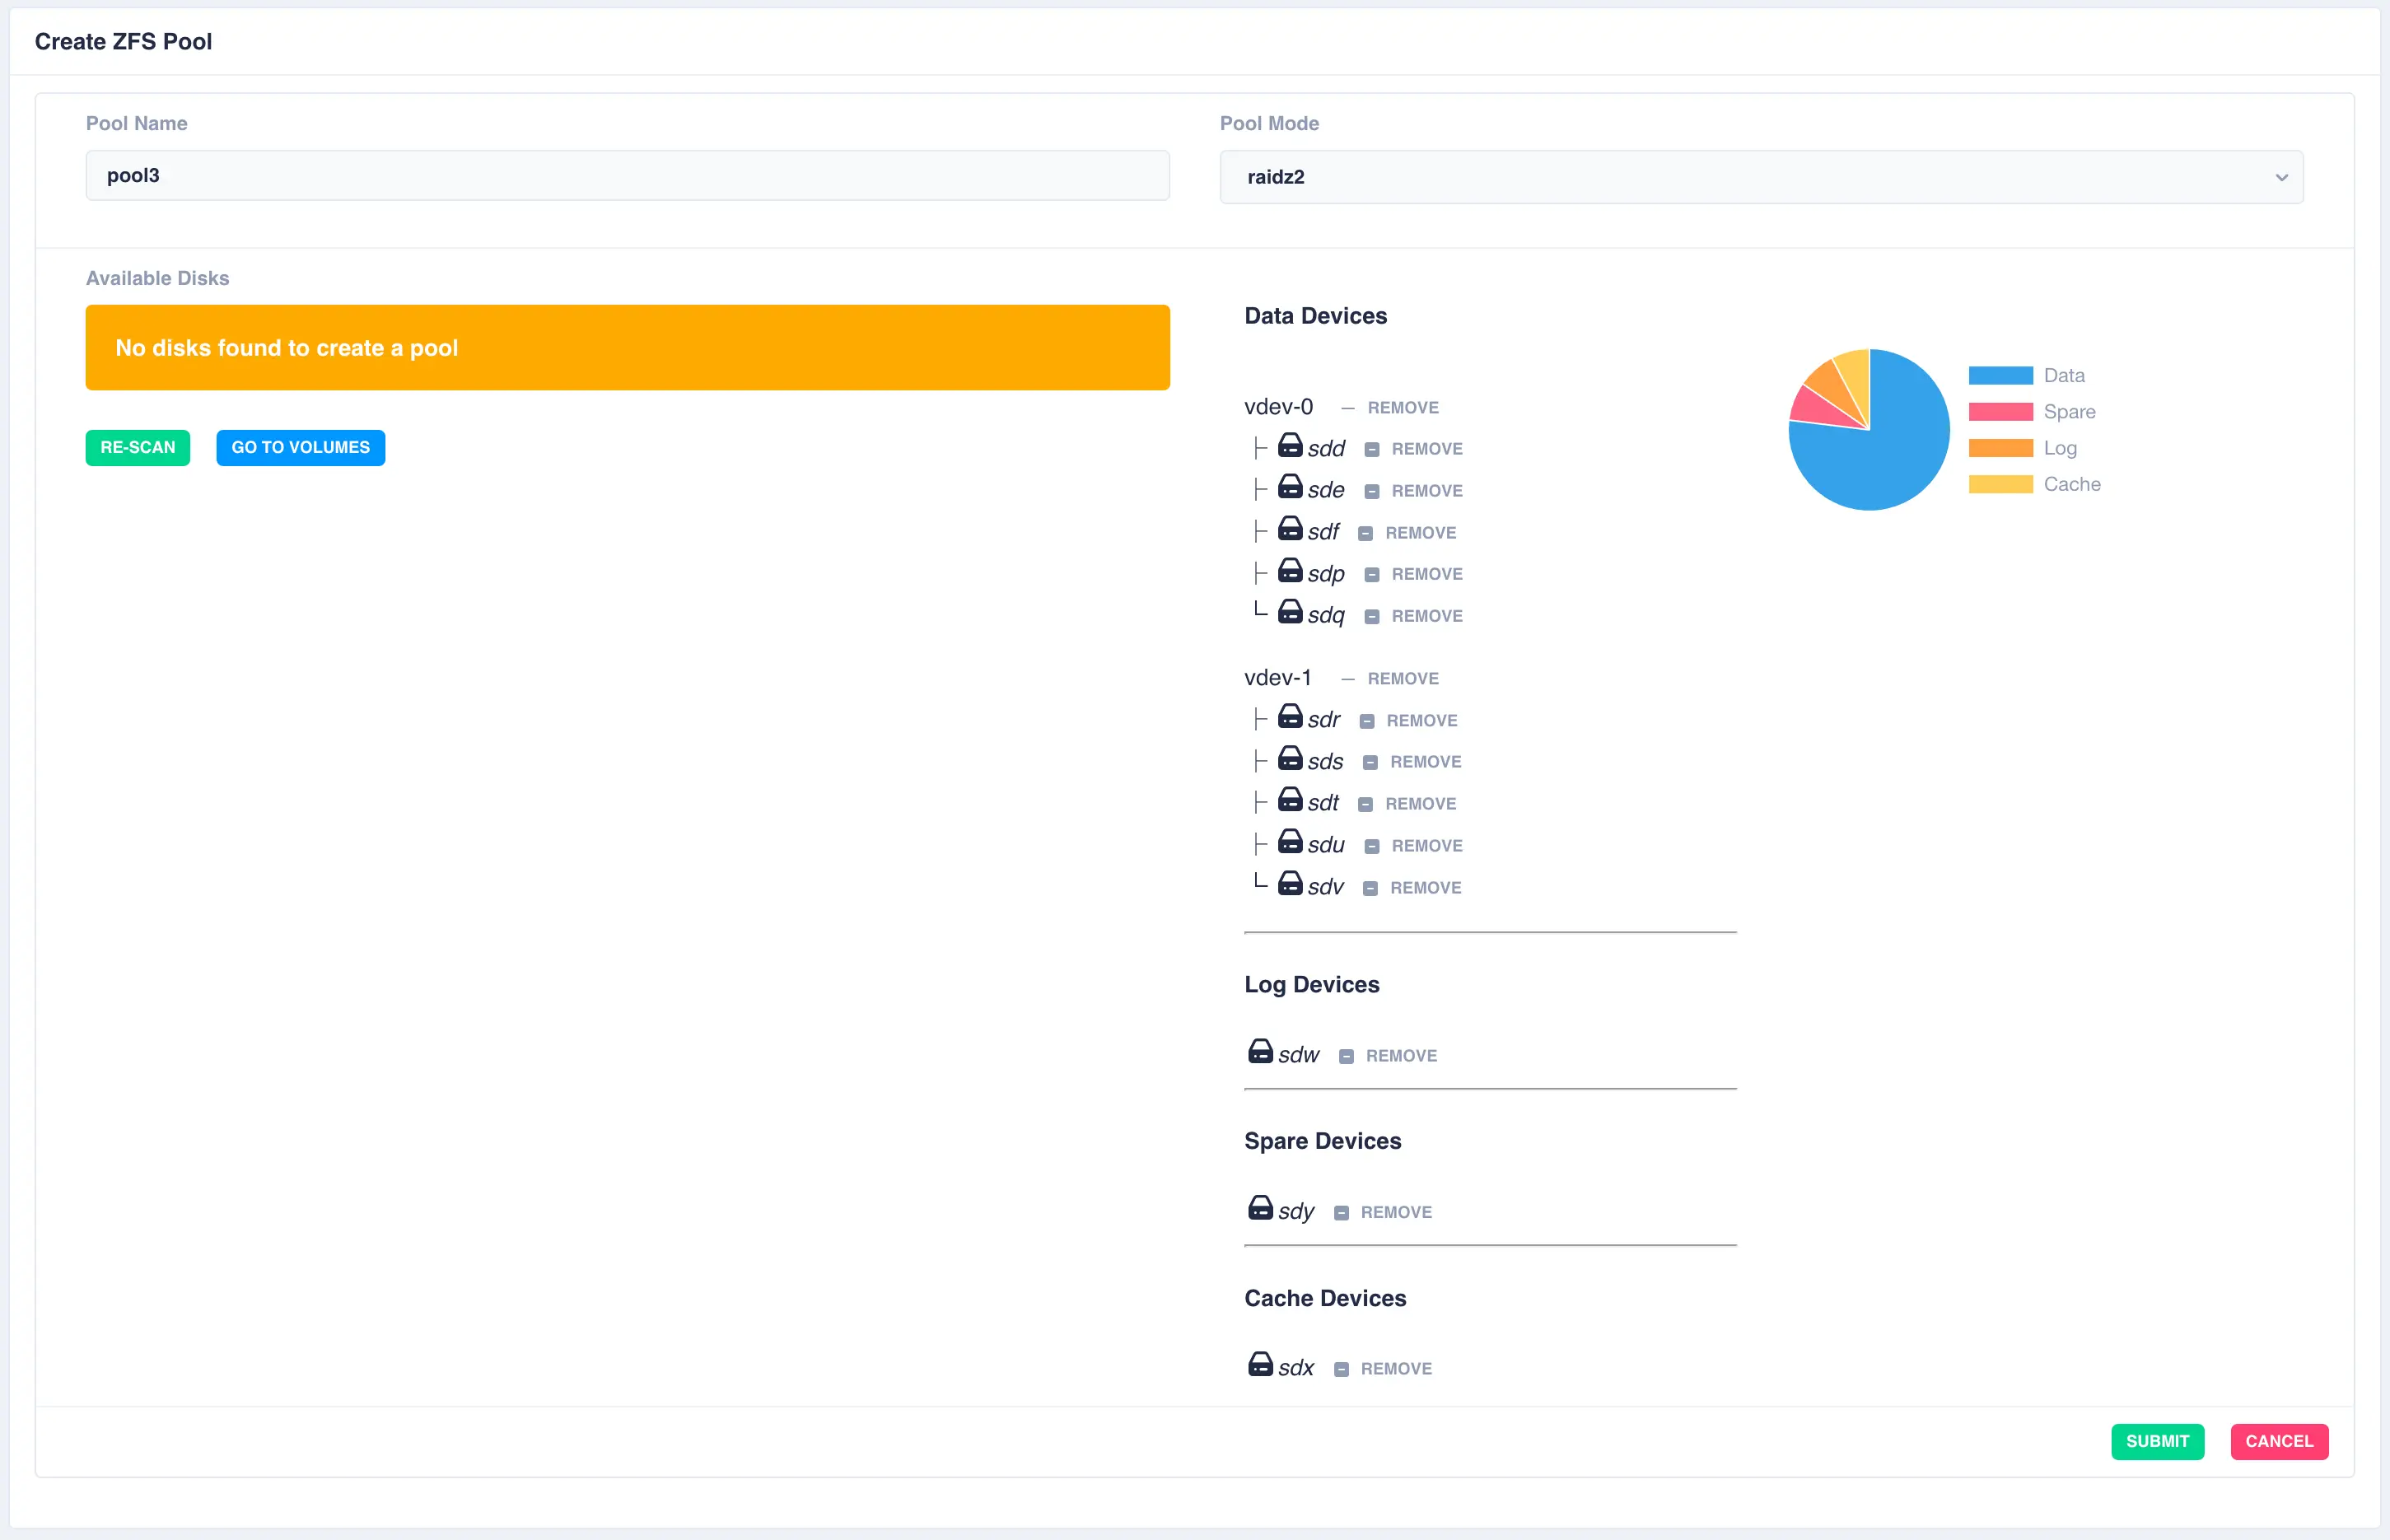
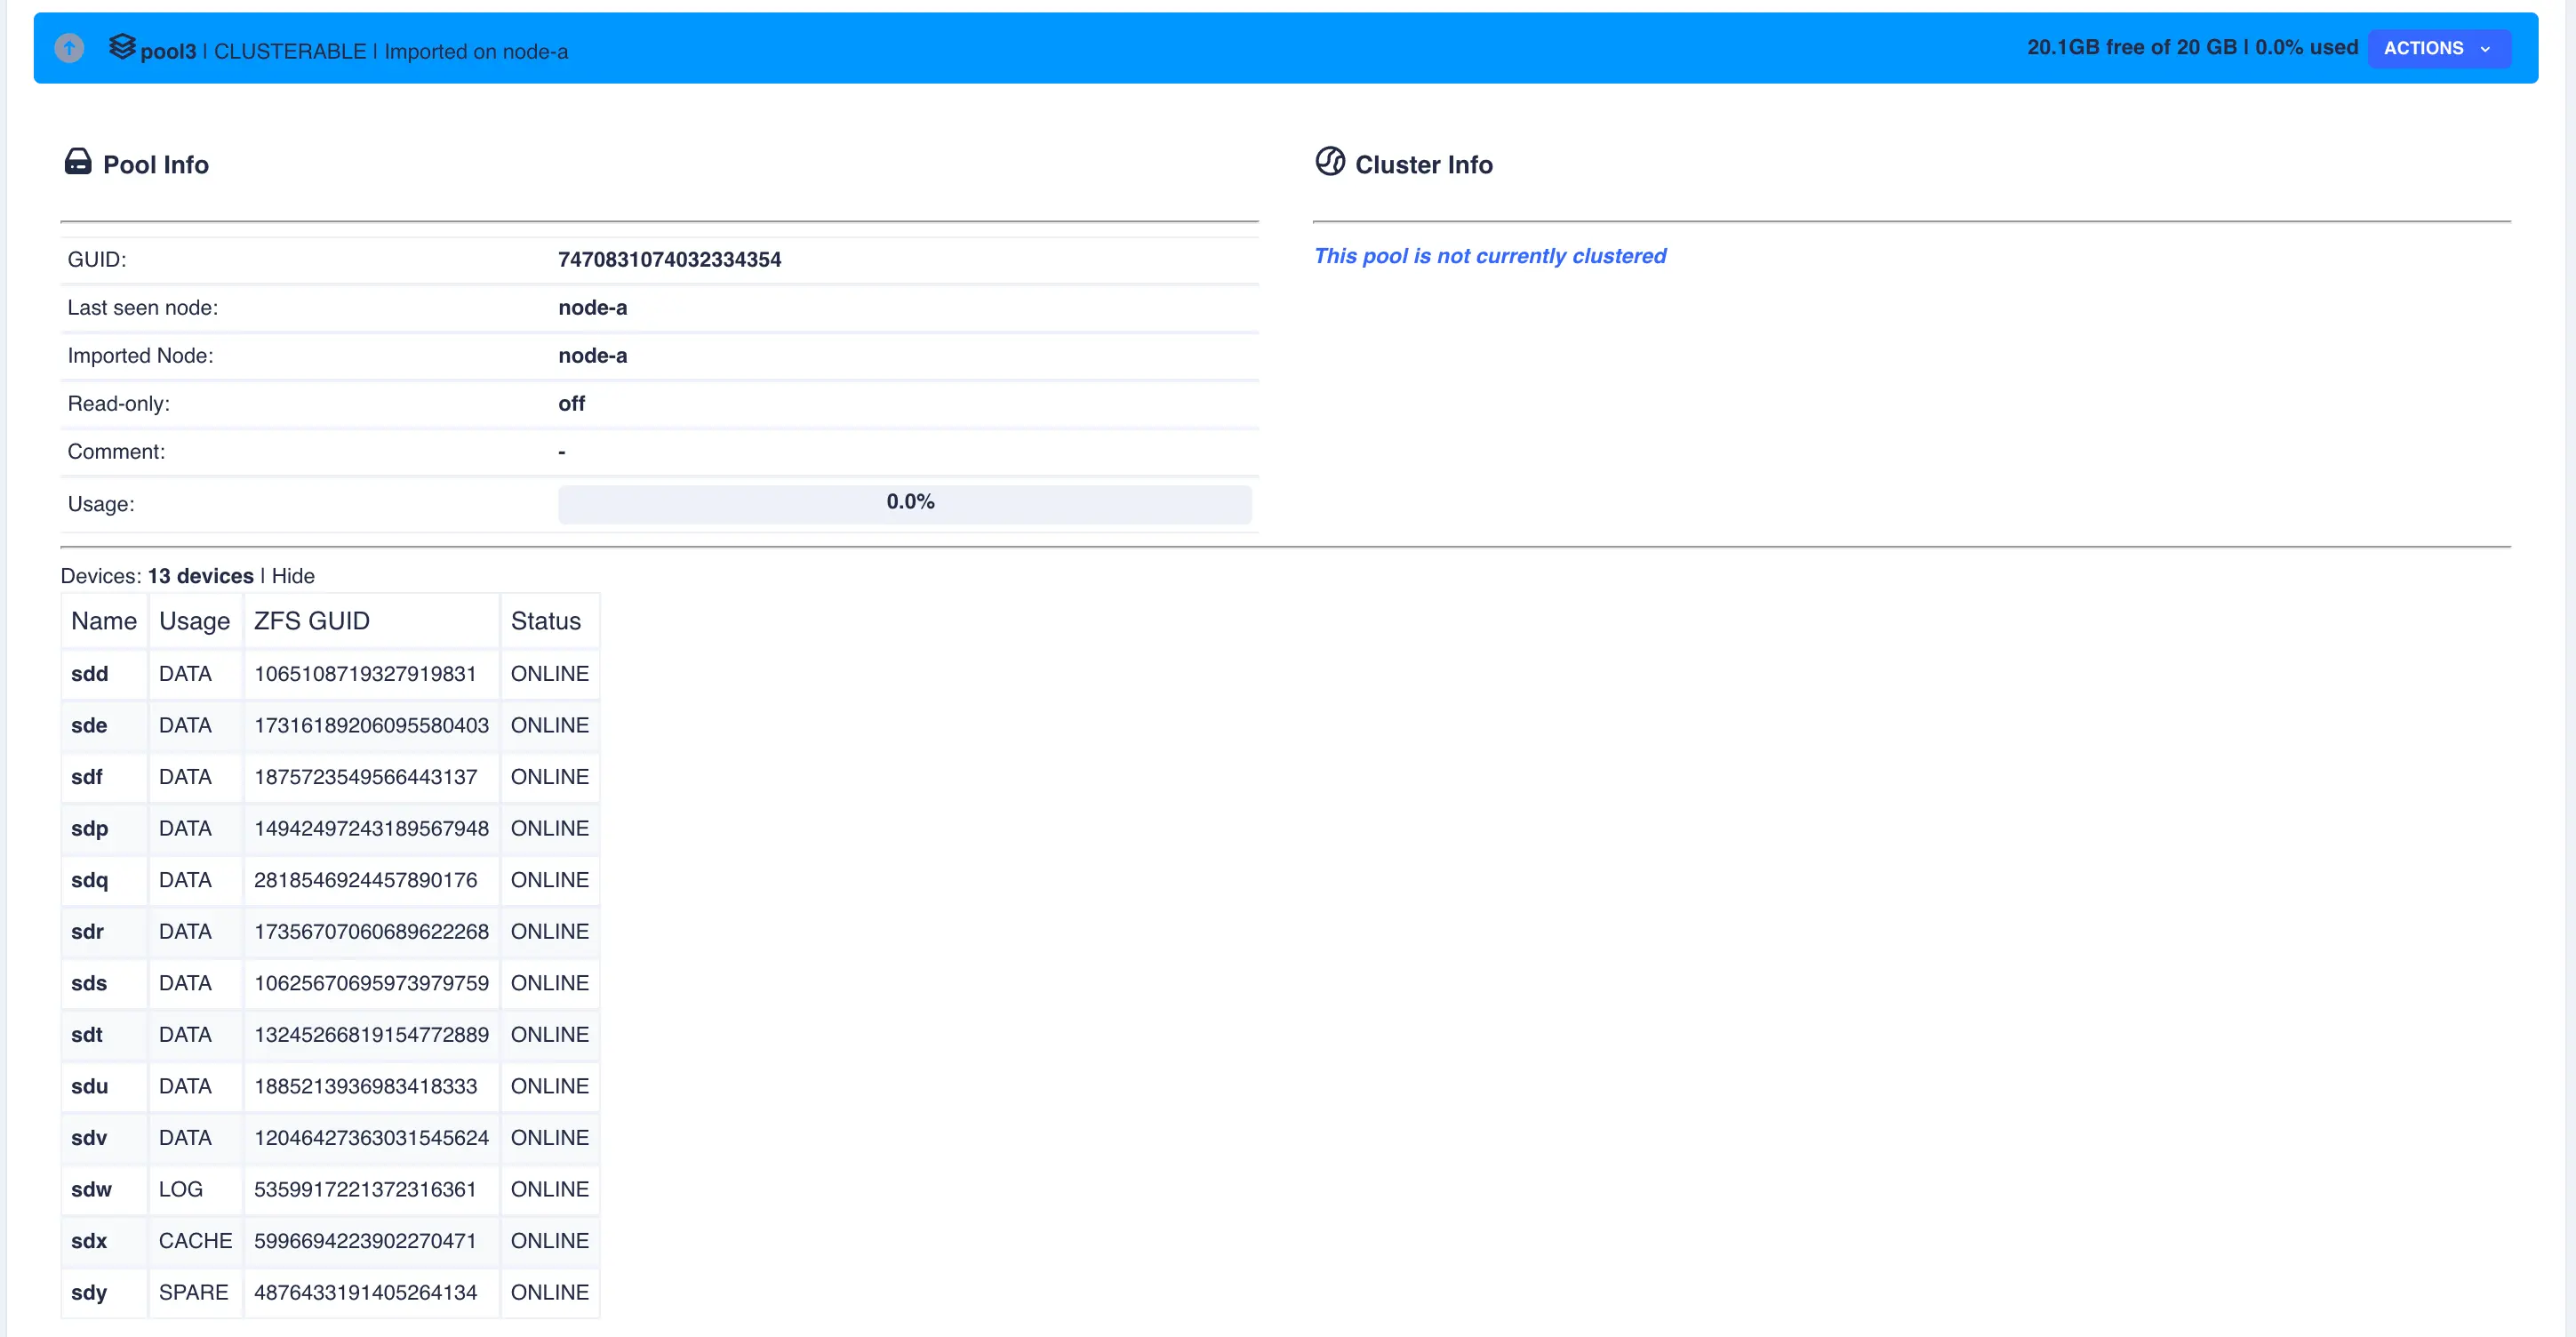
Finally click SUBMIT. The pool will now be created and will show up in the main pools page. Select
the pool to show the pool details - device information can also be shown by clicking Show on the devices
line:
Mirrored Pool
Mirrored pools are created by striping together individual mirrored vdevs.
Start by creating an individual mirrored vdev (in this example a two way mirror is created, but three, four way, etc. mirrors can be created if required):
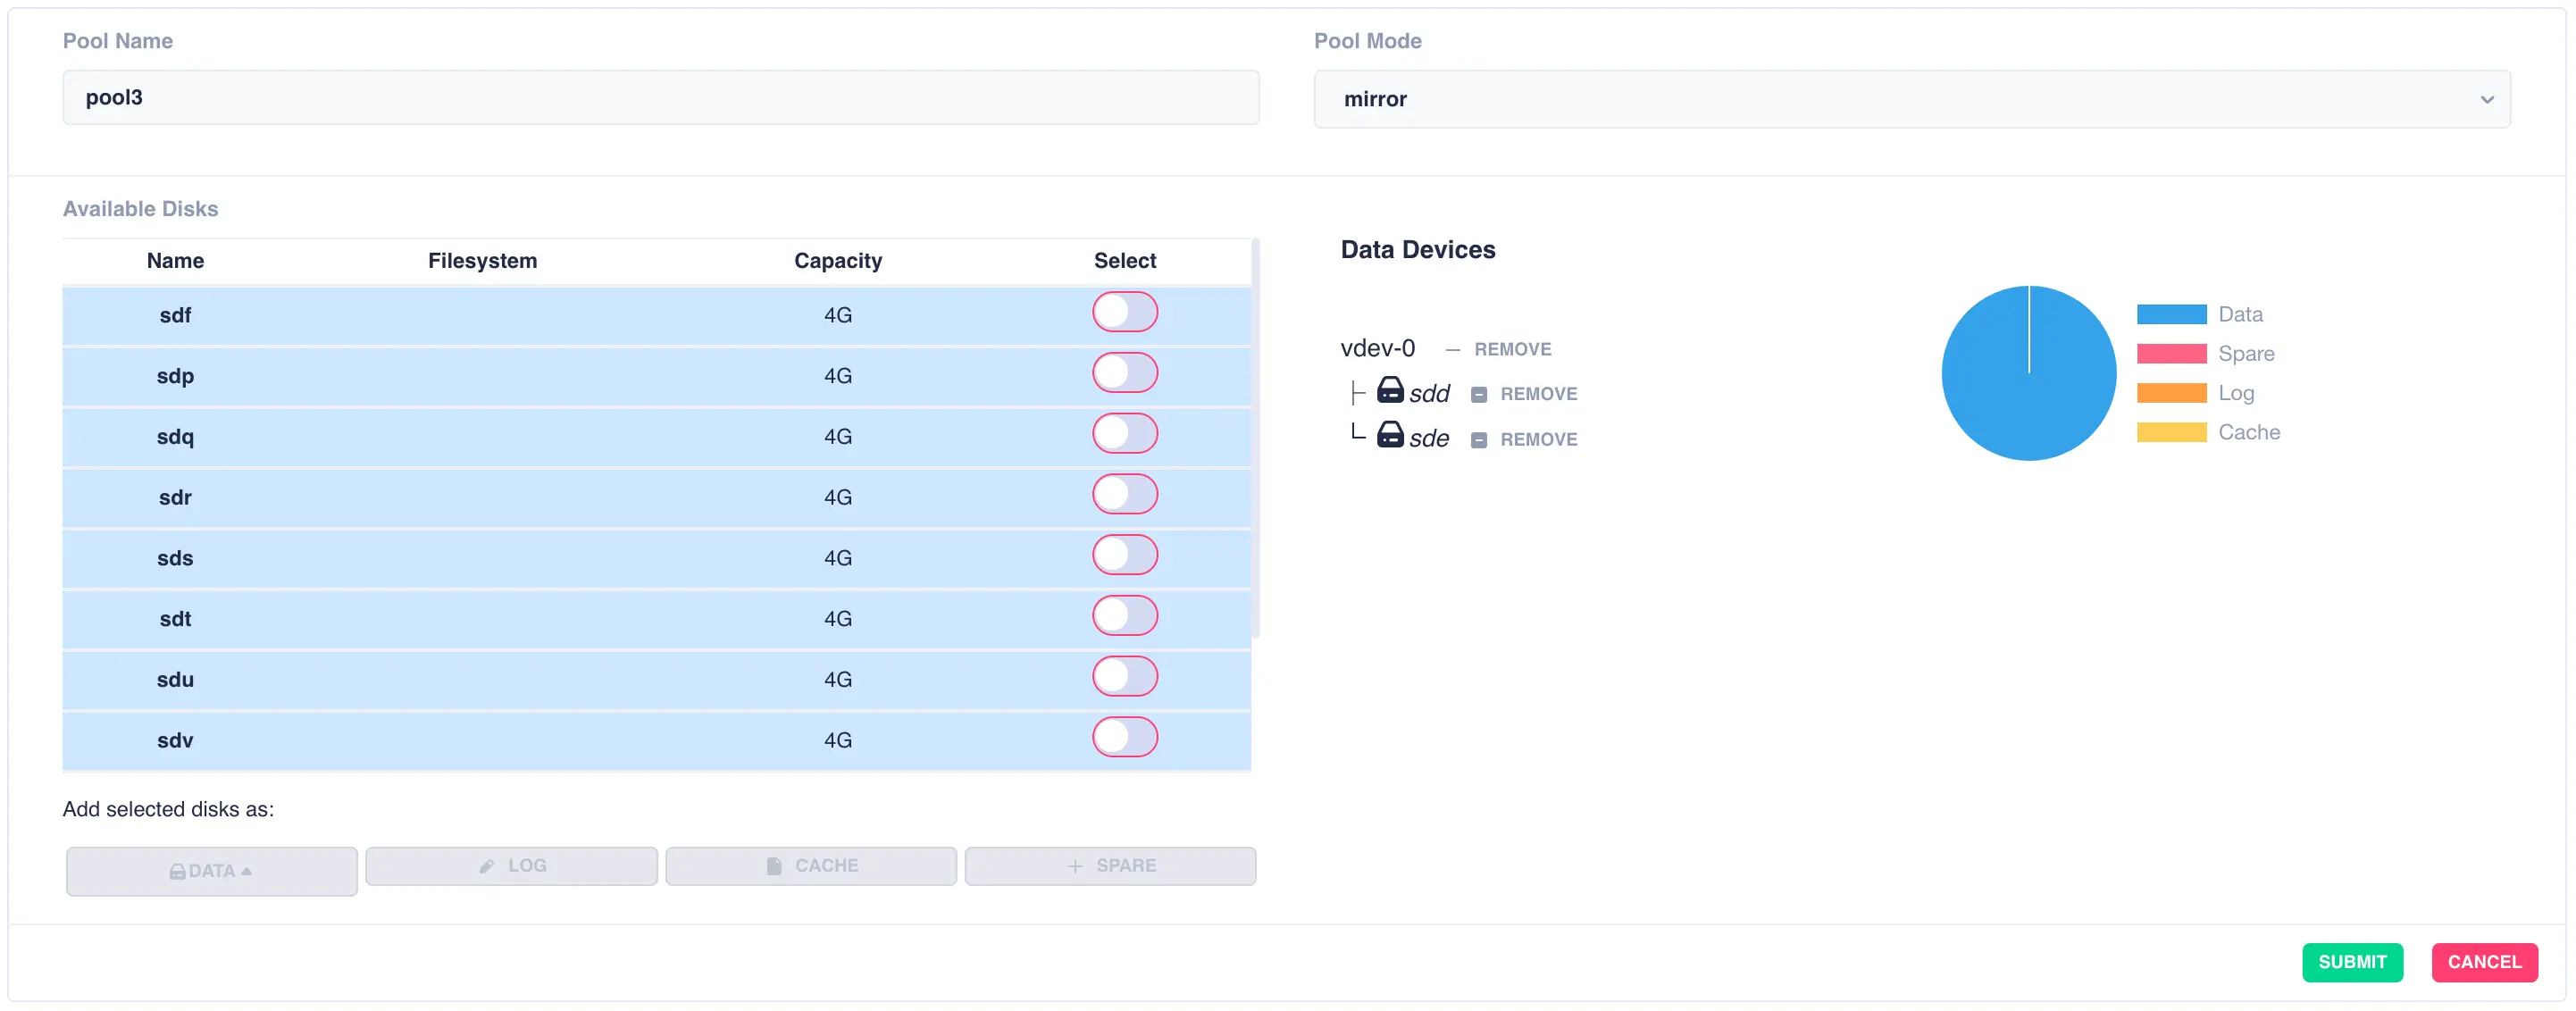
Continue adding mirrored vdevs as required:
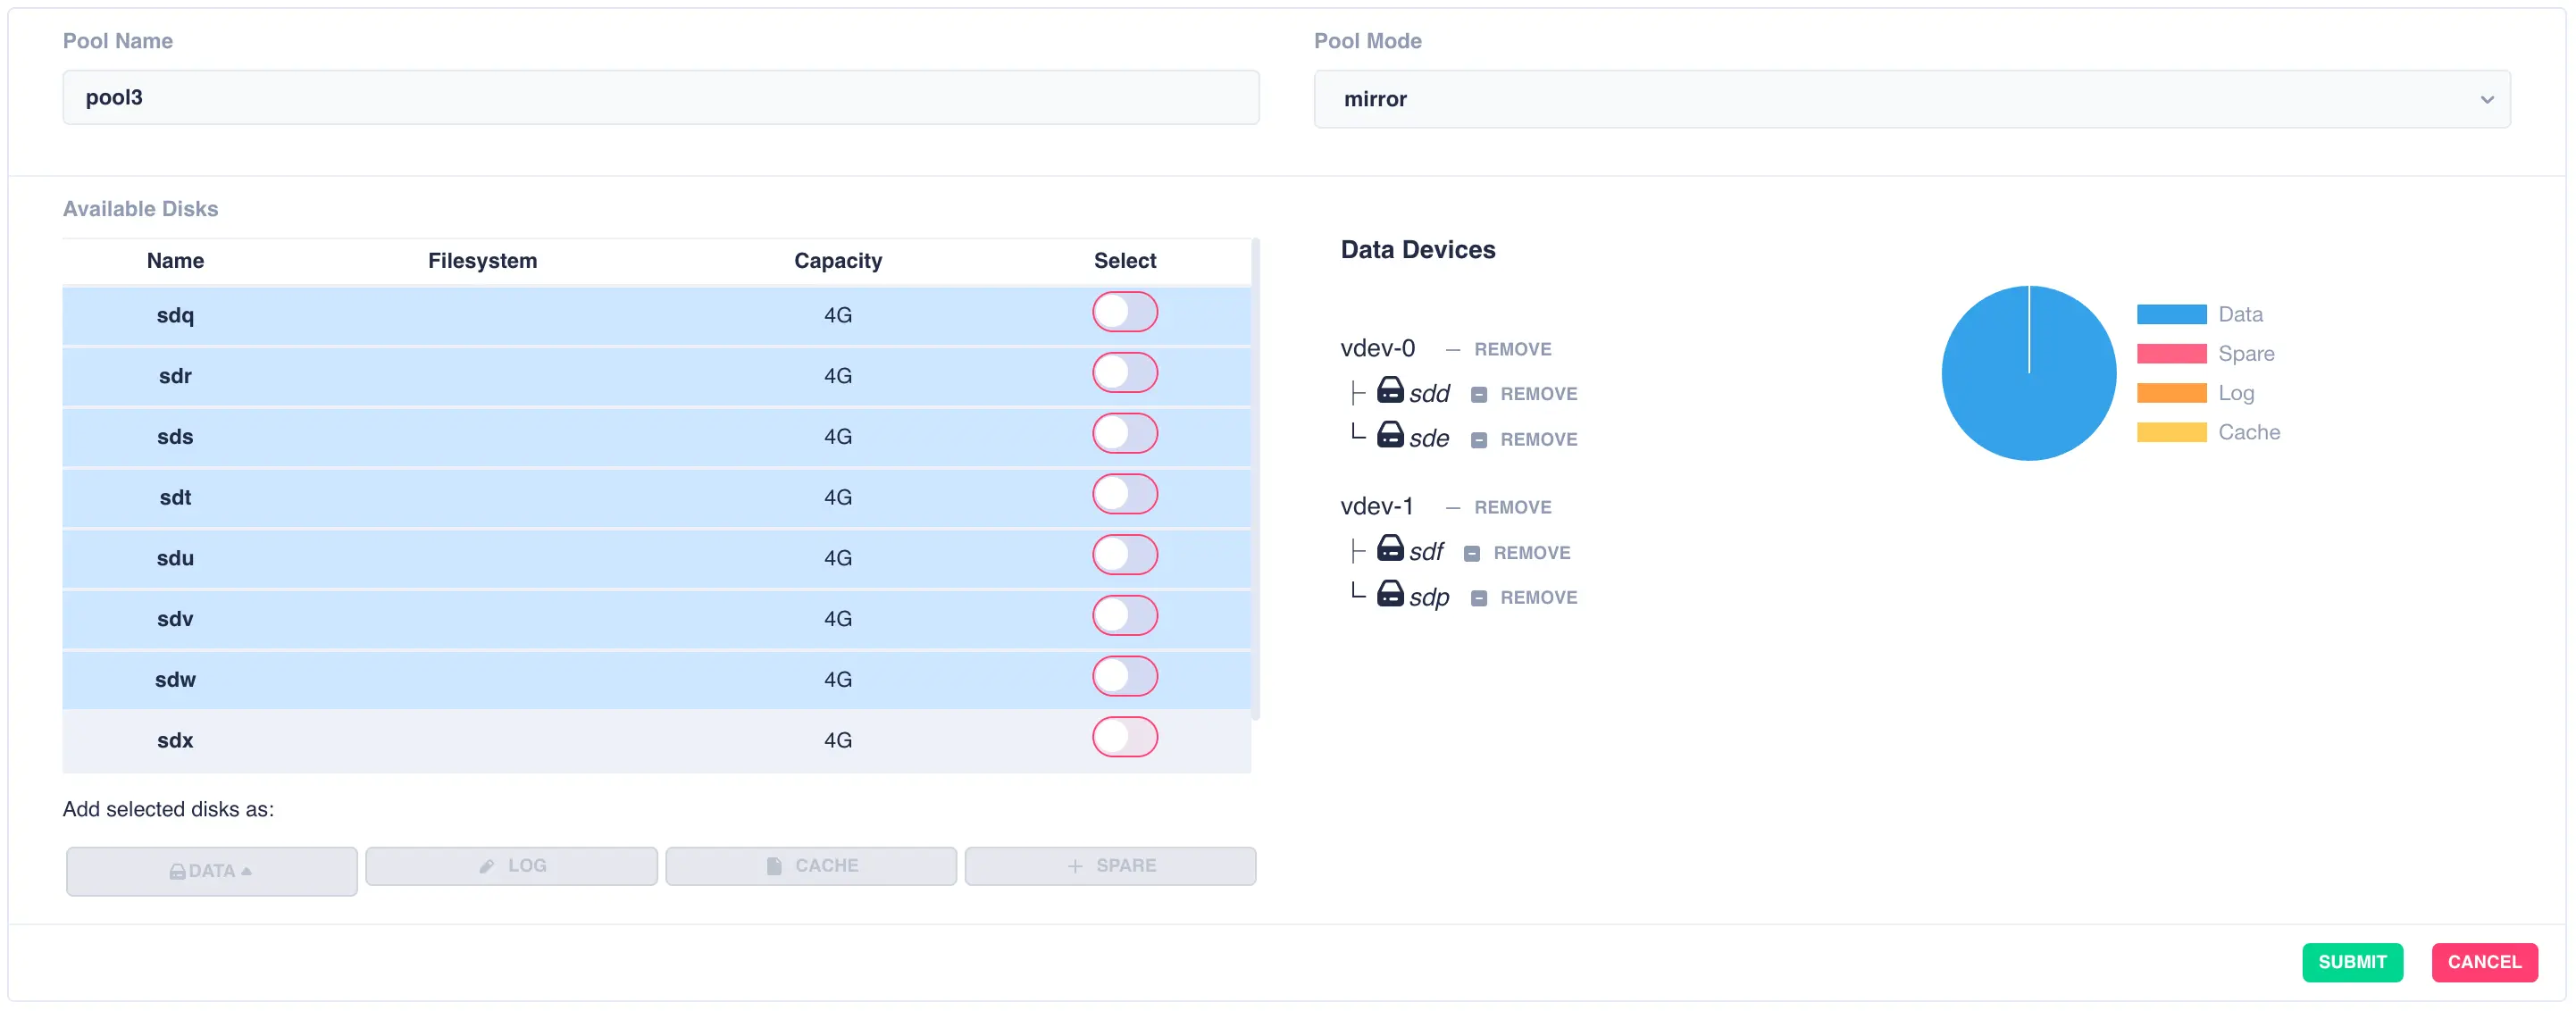
Finally click SUBMIT. The pool will now be created and will show up in the main pools page.
JBOD Pool (single stripe)
A jbod pool is a stripe of disks in a single vdev with no redundancy. Select individual disks and add them
to the vdev using the data button:

Finally click SUBMIT. The pool will now be created and will show up in the main pools page.
Preparing a Pool to Cluster
Pools must be imported on one of the nodes before they can be
clustered. Check their status by selecting the Pools option on the
side menu.
Shared-nothing clusters
For a shared-nothing cluster, the pools will need
to have the same name and be individually imported on each node
manually.
In the following example pool1 and pool2 are already clustered and pool3 is going to be added to the cluster:

Firstly the pool need to be imported; select the Import Pool item from the Actions menu:

The status of the pool should now change to Imported and CLUSTERABLE:

The pool is now ready for clustering.
Unclusterable Pools
Should any issues be encountered when importing the pool it will
be marked as UNCLUSTERABLE. Check the RestAPI log
(/opt/HAC/RSF-1/log/rest-operations.log) for details on why the
import failed.
With a shared-nothingcluster, this may happen if
the pools aren't imported on both nodes.
Clustering a Pool
Select the Cluster this pool item from the Actions menu:

Fill out the description and select the preferred node for the service:
What is a preferred node
When a service is started, RSF-1 will initially attempt to run it on it's preferred node. Should that node be unavailable (node is down, service is in manual etc) then the service will be started on the next available node.

With a shared-nothing pool the GUID's for each pool will be shown:

To add a virtual hostname to the service click Add in the Virtual
Hostname panel. Enter the IP address, and optionally a hostname.
For nodes with multiple network interfaces, use the drop down
lists to select which interface the virtual hostname should be assigned
to:
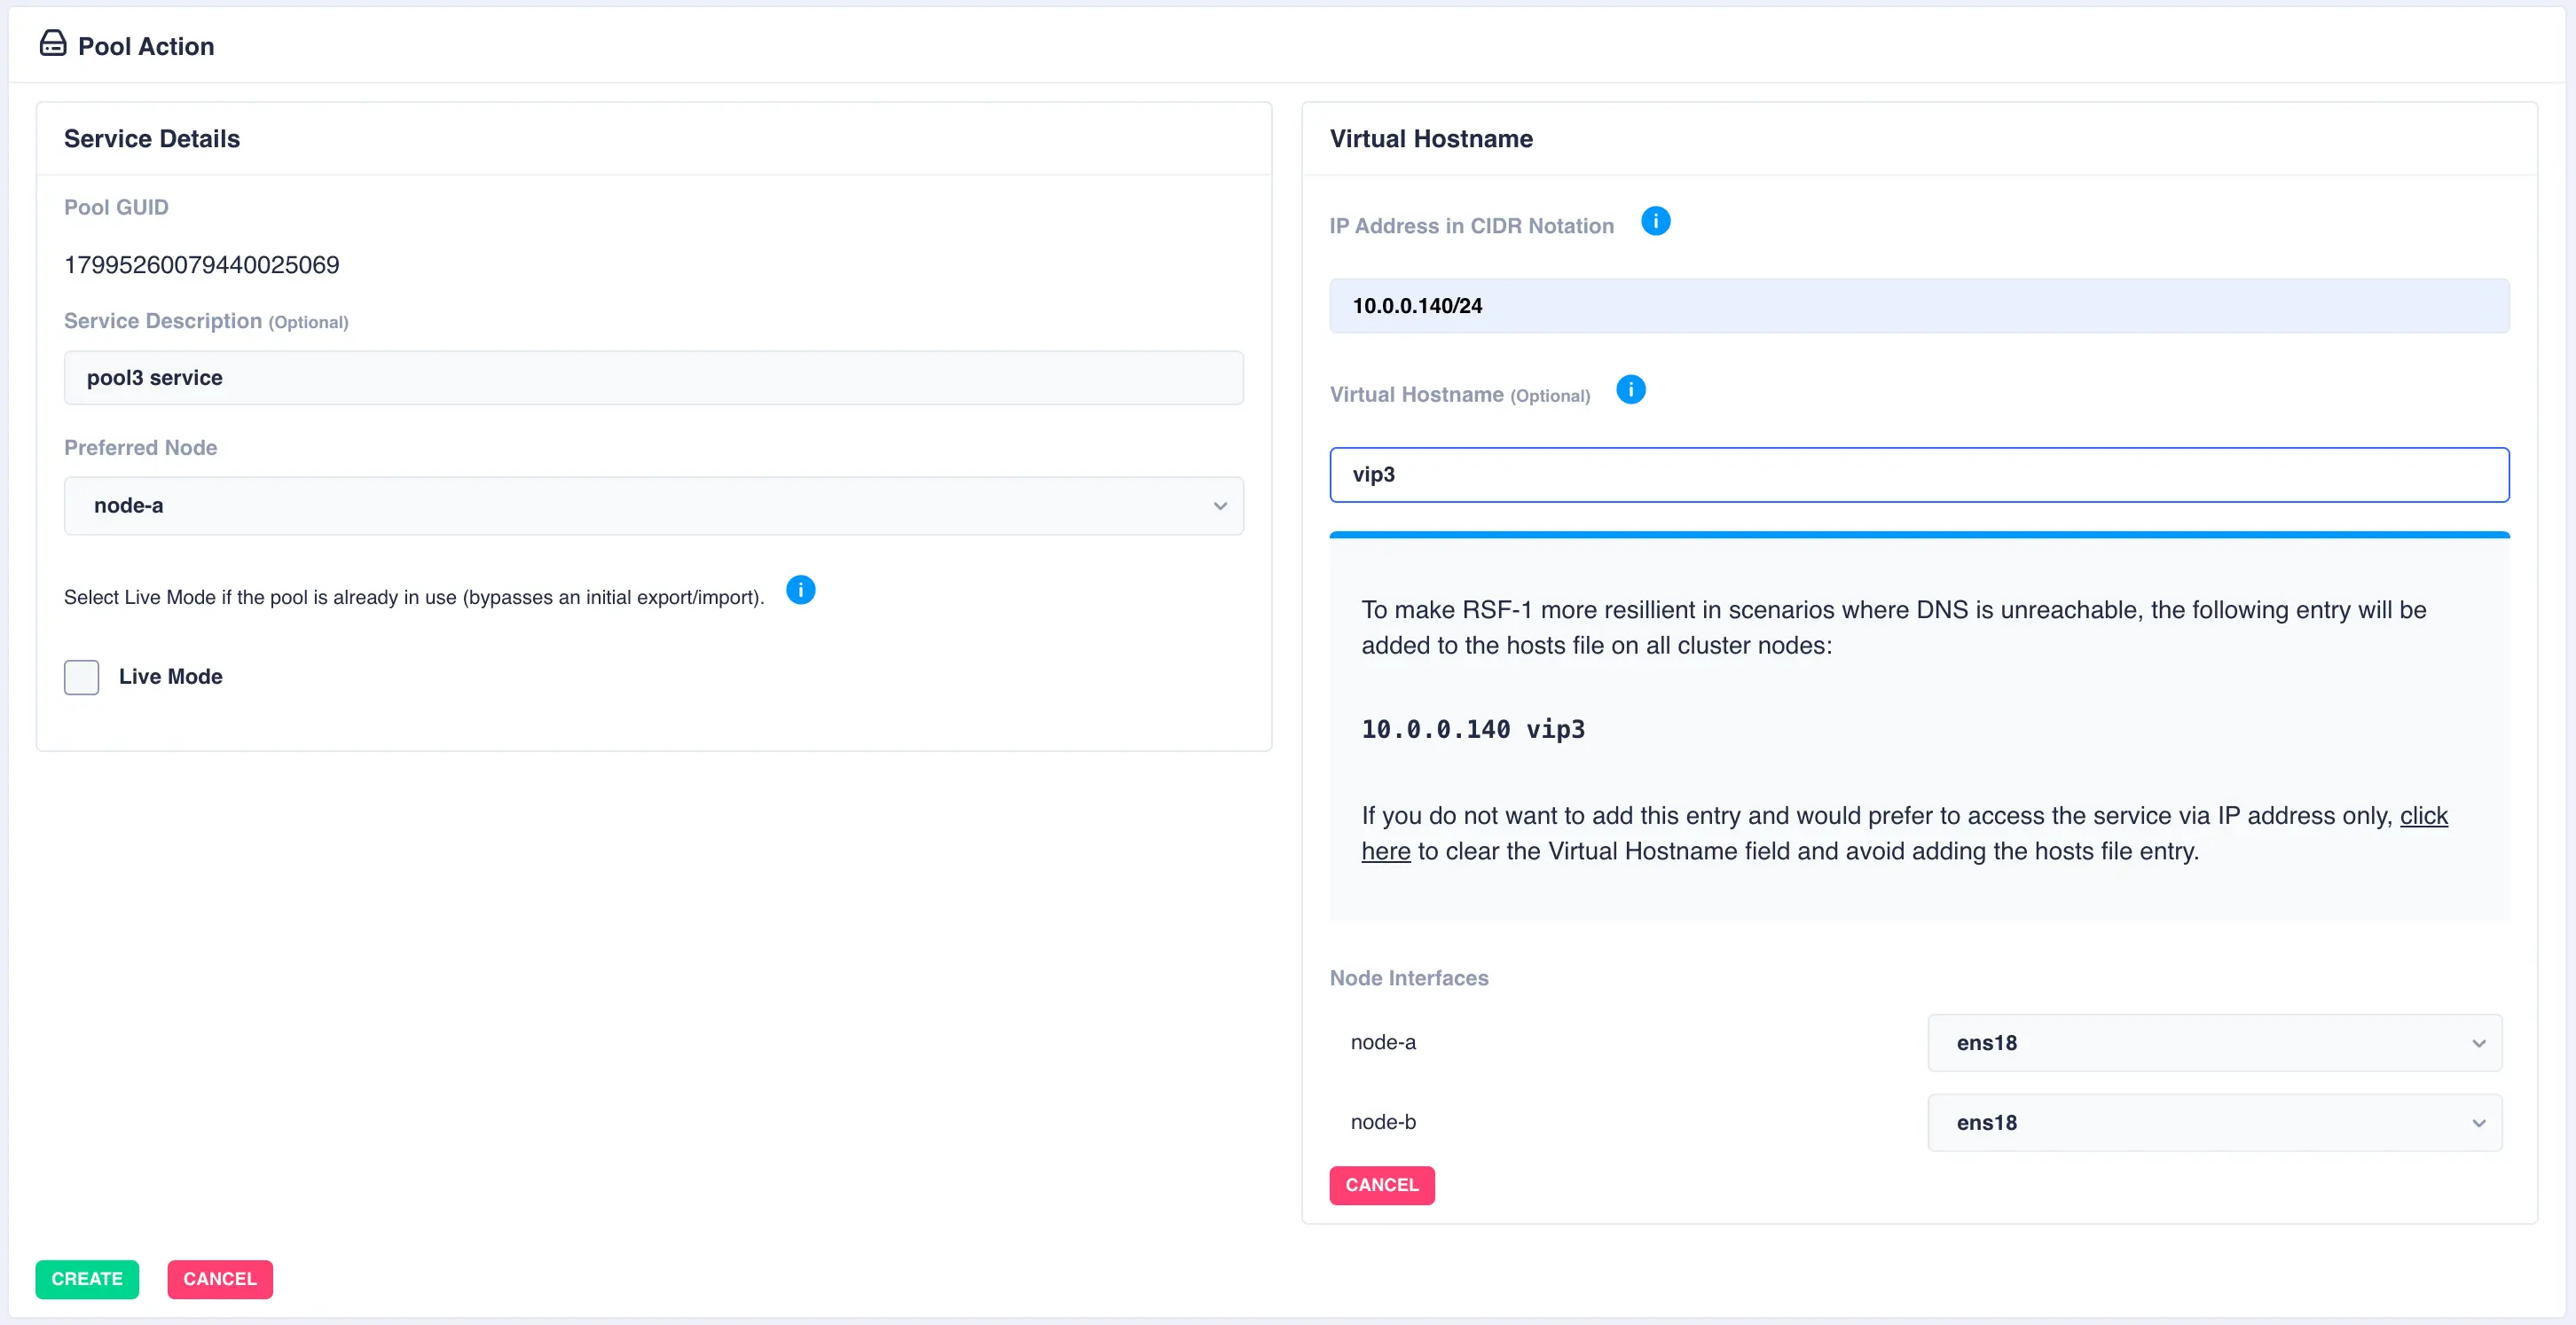
Finally, click the Create button; the pool will now show as CLUSTERED:
